This post contains affiliate links. As an Amazon Associate I earn from qualifying purchases.
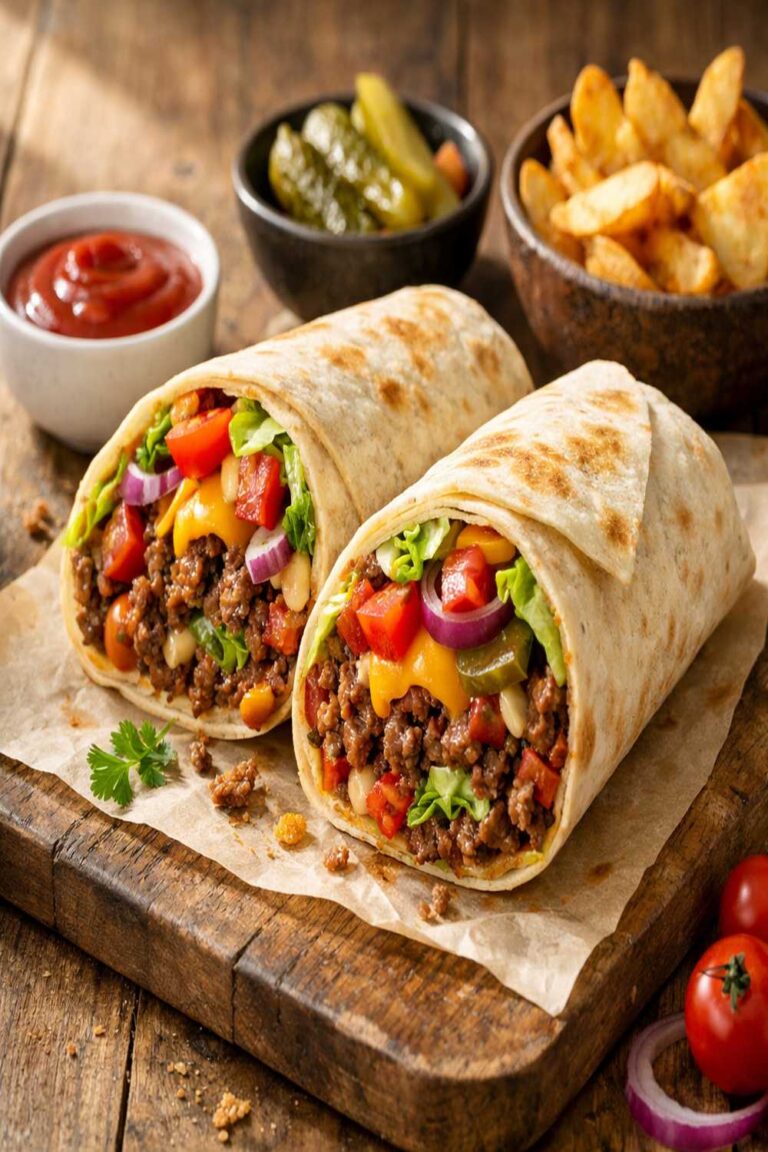
I still remember my grandmother wrapping tortillas around seasoned ground beef on Sunday afternoons, teaching me that stretching a dollar didn’t mean sacrificing flavor or nutrition. These beef wraps became my go-to meal when I needed to feed my own family on a tight budget while keeping everyone satisfied. Ready in 30 minutes with ingredients you probably already have in your pantry, this recipe proves that healthy eating is never a luxury. I love how flexible these are—make them ahead, freeze them, and warm them up when life gets hectic. If you’re looking for other budget-friendly beef recipes that stretch your dollars further, this one tops my list every single time.
Easy Beef Wrap Recipe Ready in 30 Minutes (Make-Ahead Friendly!)
I’ve tested hundreds of ground beef recipes over my decade as a registered dietitian, and these wraps remain one of my most-requested meals. They’re simple enough for a weeknight dinner, flexible enough to meal prep on Sunday, and budget-conscious enough to feed a family of four for under ten dollars. This is the only beef wrap recipe you’ll ever need.
Why You’ll Love This Recipe
- Ready in just 30 minutes – Seasoned beef cooks in 10 minutes, assembly takes another 15, leaving time for cleanup
- One-pan beef seasoning – No store-bought packets needed; mix five pantry staples for homemade taco seasoning that tastes restaurant-quality
- Feeds a family of four for under $10 – Ground beef is on sale? Stock up. These freeze beautifully and stretch your budget through the month
- Customizable for every palate – Picky eaters? Swap vegetables, adjust spice levels, or skip cheese. Everyone builds their own wrap the way they like it
- Make-ahead and freezer-friendly – Wrap and freeze unbaked, then reheat in 20 minutes on a busy Wednesday night
What You Need
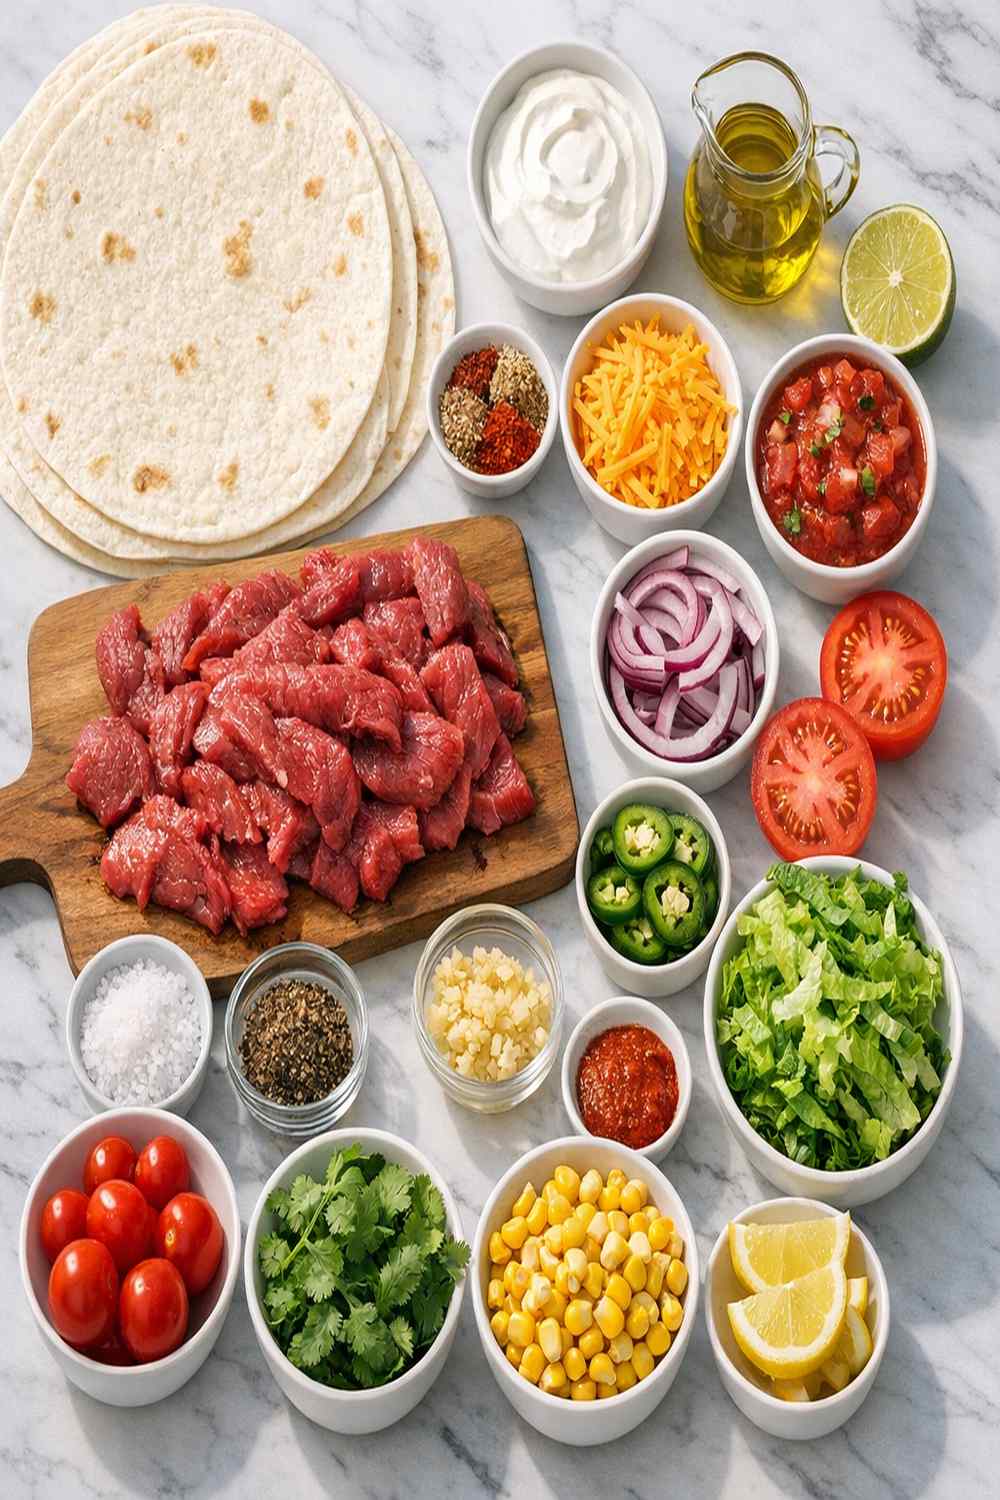
Just 15 simple ingredients, most of which you already have:
For the Seasoned Beef
- 1 tablespoon olive oil (for cooking without sticking)
- 500 grams ground beef, lean (about 1 pound; ask the butcher for the leanest option available)
- 2 garlic cloves (minced fine, or use garlic powder in a pinch)
- ½ onion (finely chopped, not minced)
- 1 teaspoon onion powder (if using fresh onion feels like too much prep)
- 2 teaspoons dried cumin powder (the signature warmth in this recipe)
- 2 teaspoons paprika (adds color and mild smoky depth)
- 1 teaspoon dried oregano (brings herbaceous complexity without fresh herbs)
- 1 teaspoon salt (adjust to taste at the end)
- ¼ teaspoon black pepper (freshly ground tastes better, but ground works fine)
- ¼ teaspoon cayenne pepper (optional; add only if your family loves heat)
- 2 tablespoons tomato paste (concentrated and rich, stretches flavor further than tomato sauce)
- 3 tablespoons water (keeps beef moist, not dried out)
For Building and Serving
- 6 to 8 large flour tortillas or wraps (about 10 inches round; check your local grocery store’s bulk tortillas—often half the price of branded packages)
- 3 cups cooked rice, cooled slightly (white long-grain is most budget-friendly; brown rice works too)
- 3 cups iceberg lettuce or shredded cabbage (cabbage holds up better if freezing wraps)
- 1 cup corn kernels (canned and drained saves money and prep time)
- 1 cup black beans (canned, drained, and rinsed to cut sodium)
- 3 medium tomatoes (deseeded to reduce sogginess, or skip if tomatoes are expensive this season)
- ½ red onion (finely chopped for crunch and mild bite)
- 1½ cups shredded cheese (cheddar, Mexican blend, or whatever’s on sale—melting cheese is key)
- Fresh cilantro, chopped (optional, but elevates the whole dish for pennies)
How to Make Beef Wrap Recipe in 6 Steps
Here’s exactly how to do it, start to finish:
Step 1: Make Your Homemade Taco Seasoning
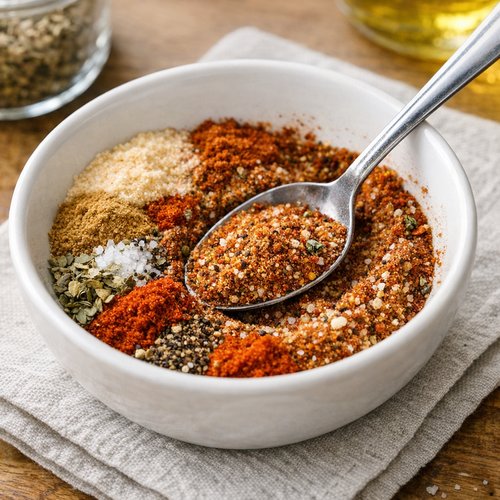
In a small bowl, combine the onion powder, cumin, paprika, oregano, salt, black pepper, and cayenne if using. Give it a quick stir so the spices are evenly distributed. This is your secret to restaurant-quality flavor without paying for a packet. I keep this mix in a mason jar all month long—it works on chicken, beans, or vegetables too.
Step 2: Cook the Aromatics
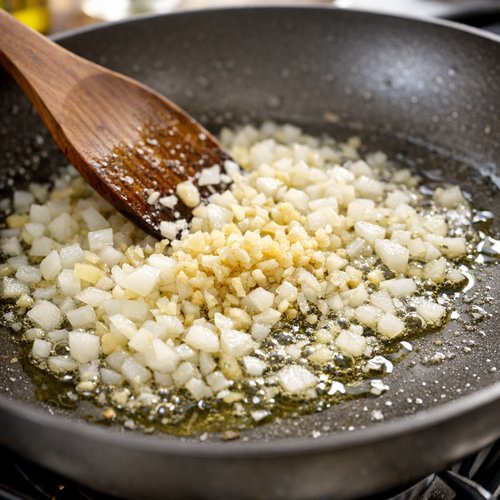
Heat the olive oil in a large skillet over medium-high heat for about 30 seconds until it shimmers. Add the minced garlic and chopped onion, then cook for 2 to 3 minutes, stirring occasionally, until the onion softens and turns golden at the edges. This is where the flavor foundation starts—don’t rush it.
Step 3: Brown the Ground Beef
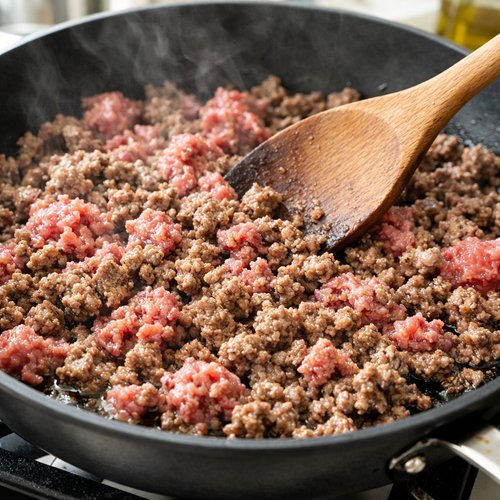
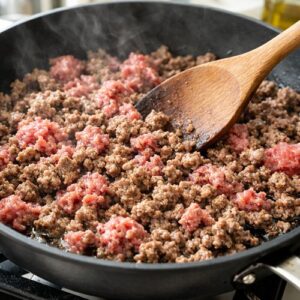
Add the ground beef to the skillet and break it apart with a wooden spoon or spatula as it cooks, stirring every 30 seconds or so. This takes about 5 to 7 minutes total. You’ll see it transform from pink to gray to rich brown. Don’t worry about getting it into tiny pieces—some texture is nice. Once it’s completely browned, drain off excess fat if there’s more than a tablespoon sitting in the pan.
Step 4: Season and Simmer the Beef
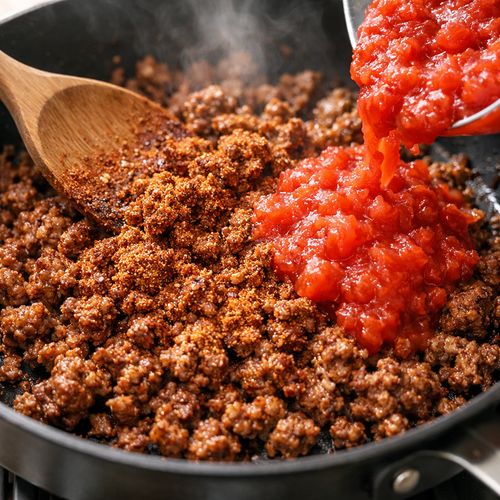
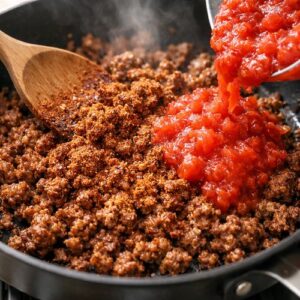
Sprinkle the homemade taco seasoning over the beef and stir well, then cook for 1 minute so the spices bloom and stick to the meat. Pour in the tomato paste and water, stirring until everything is evenly coated. Simmer for 3 to 4 minutes until most of the liquid absorbs but the beef still looks juicy, not dried out. This is critical—overcooked beef turns tough and bitter. Set the skillet aside and let it cool for about 10 minutes. Hot filling will steam your tortillas and make them soggy.
Step 5: Prepare Your Fillings
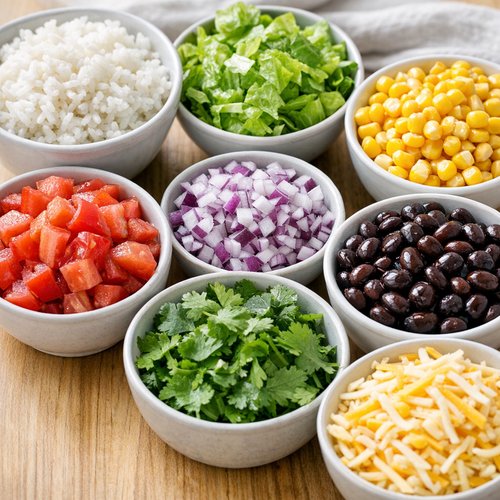
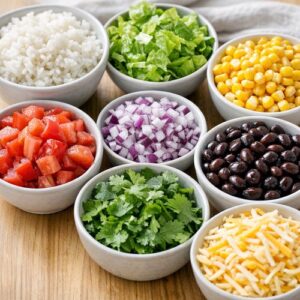
While the beef cools, arrange your rice, lettuce, corn, black beans, tomatoes, red onion, cilantro, and cheese in separate small bowls. Make sure the rice is warm but not steaming hot. This is the moment where I sometimes let my kids pick and choose what goes into their wraps—it keeps them invested in eating what they built.
Step 6: Roll and Wrap
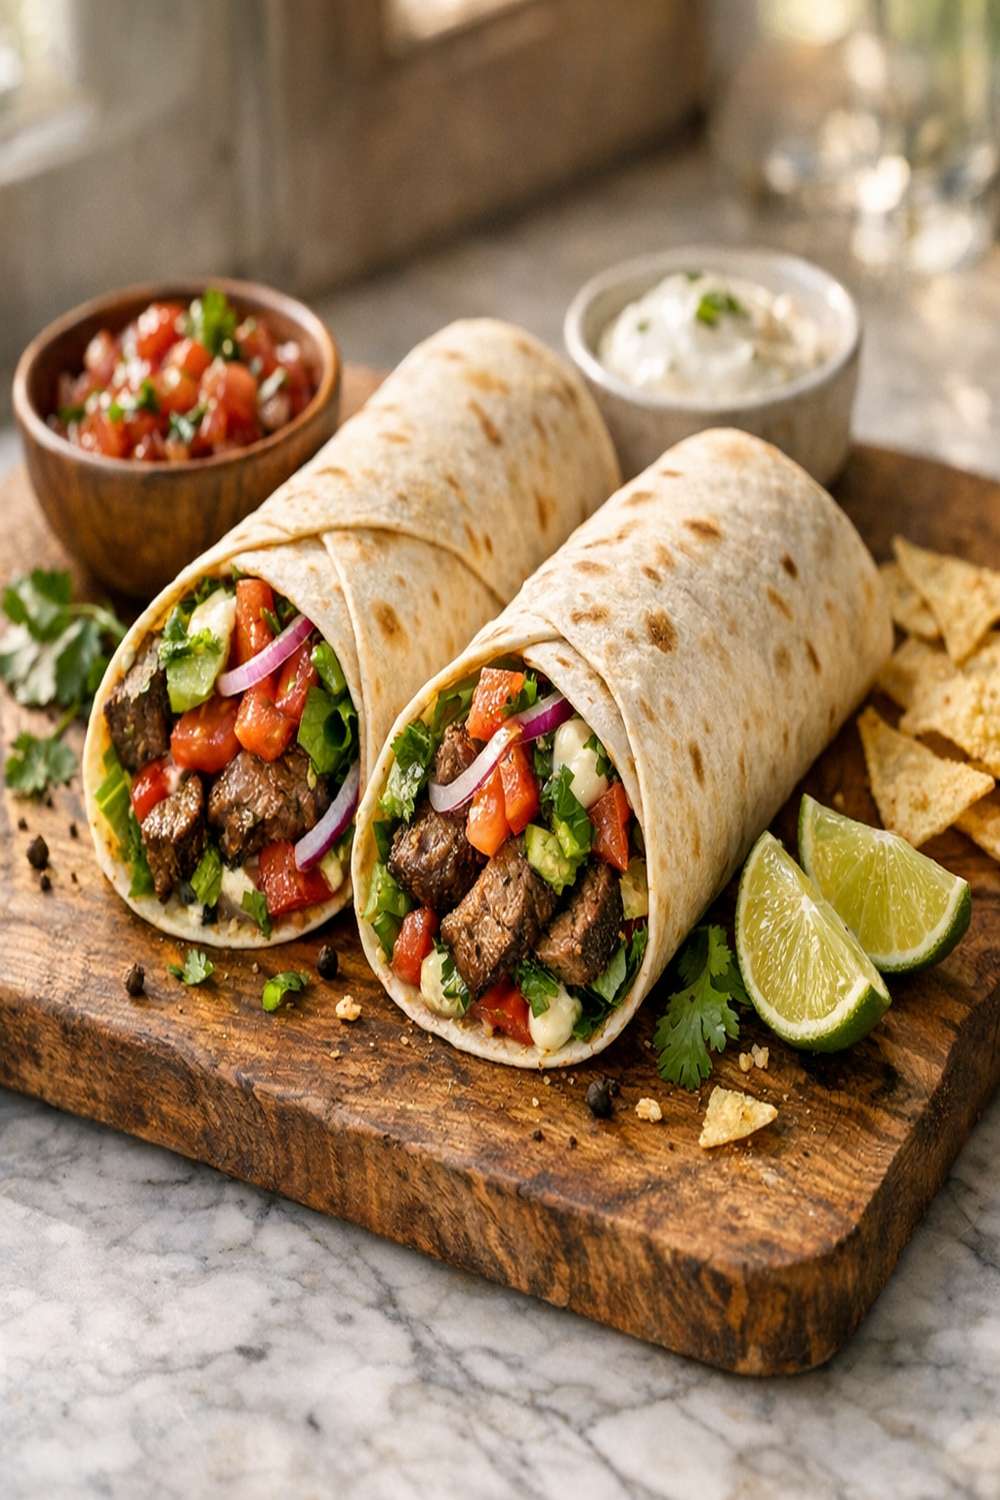
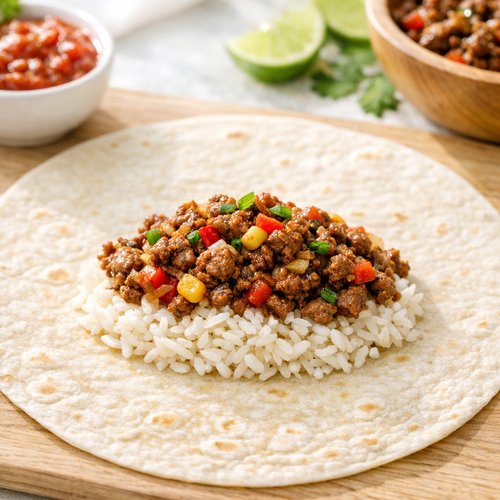
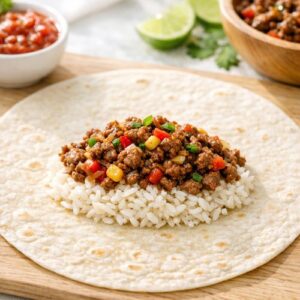
Lay a tortilla on a clean work surface. Place about ⅓ cup of warm rice slightly below the center, then top with ⅓ cup of the cooled beef mixture. Add a small handful of lettuce, a sprinkle of corn, a small scoop of beans, a few pieces of tomato, some red onion, a pinch of cilantro, and a generous handful of cheese. Fold the bottom edge up over the filling, then fold in both side edges, and roll tightly toward you. Wrap each finished wrap in foil to hold it together and keep it warm. Serve immediately with yogurt and your favorite salsa, or follow the reheating instructions below.
5 Ways to Customize This Recipe
- Spicy Version – Increase cayenne to ½ teaspoon and add a pinch of chili powder; serve with hot sauce on the side for heat-lovers in your family
- Vegetarian Wraps – Swap ground beef for crumbled cooked lentils or extra beans; use the same seasoning blend for identical flavor
- Southwestern Style – Add ¼ cup salsa directly to the beef while simmering; top wraps with shredded cabbage, avocado, and lime crema instead of plain cheese
- Asian-Inspired Beef Wraps – Replace cumin and oregano with soy sauce, ginger, and sesame oil; use butter lettuce or napa cabbage instead of iceberg; serve with sriracha mayo
- Breakfast Beef Wraps – Skip the rice and beans; fill with scrambled eggs, the seasoned beef, shredded cheese, and diced peppers; serve with salsa and avocado for a protein-packed morning meal
Make It Ahead and Meal Prep Tips
- Prep the beef filling on Sunday – Cook through Step 4 and store the cooled beef in an airtight container in your refrigerator for up to 4 days. Reheat gently in a skillet with 1 tablespoon water before rolling. This cuts your weeknight cooking time to 5 minutes
- Assemble wraps and freeze for later – Roll the wraps as directed in Step 6, wrap tightly in foil, then place them in a freezer bag labeled with the date. They’ll keep frozen for up to 3 months. Thaw overnight in the refrigerator or reheat straight from frozen using the oven method below
- Build a wrap-filling station – Chop all vegetables the night before and store in separate containers. Cook rice ahead and refrigerate. On dinner night, just warm the beef and rice, set out your bowls, and let everyone assemble their own wraps in 10 minutes
- Make double batches – If you’re already cooking ground beef, why not make two? Store half in the fridge for mid-week wraps and freeze the other half for the following week
Quick Substitutions
- Ground beef → Ground turkey for a leaner option at a similar price point; use the same seasoning and cooking time
- Flour tortillas → Whole wheat wraps or corn tortillas if that’s what your budget allows (corn will be more fragile, so handle gently)
- Canned black beans → Cooked dried beans, pinto beans, or even chickpeas; rinse well to cut sodium
- Canned corn → Fresh corn in summer or frozen corn (thawed); fresh tastes brighter and often costs less during peak season
- Shredded cheese → Crumbled queso fresco or even mozzarella; any melting cheese works here
- Fresh cilantro → Parsley, green onions, or nothing at all if cilantro tastes soapy to you (it’s genetic, not a flaw!)
How to Store and Reheat
Refrigerator: Store assembled wraps in foil in an airtight container for up to 3 days. Freezer: Wrapped and foiled wraps keep frozen for up to 3 months. Reheat in a dry skillet over medium-high heat for 2 to 3 minutes on each side to warm through and lightly crisp the outside, or bake wrapped wraps at 350°F for 15 to 20 minutes if thawed, or 25 to 30 minutes straight from frozen. Pan-frying is fastest for busy nights; baking is best if you’re warming more than two at once.
Nutrition at a Glance
Each wrap provides approximately 420 calories, 22 grams of protein, 18 grams of fat, and 42 grams of carbohydrates. The protein-to-carb ratio keeps blood sugar stable longer, while the fiber from beans and vegetables supports digestive health. According to USDA dietary guidelines, one wrap covers about 8 percent of your daily protein needs and 12 percent of your daily fiber—all from whole-food ingredients you can pronounce. Ground beef contributes iron and B vitamins, particularly B12, which plant-based eaters often lack.
Expert’s Nutritional Tip
Here’s what I tell my patients: the combination of lean ground beef, beans, and whole grains creates a complete protein with all nine essential amino acids. Most people think you need meat at every meal for proper nutrition, but this wrap proves that’s a myth. The beans provide fiber that slows digestion, keeping you fuller longer—which naturally reduces snacking and supports weight management. If your family is watching their sodium intake, buy low-sodium canned beans and skip the salt in the seasoning blend the first time you make it, then taste before adding more. This one small change cuts sodium by nearly 300 milligrams per wrap without sacrificing flavor.
Serve It With
These wraps shine alongside simple sides that complement without competing. Try them with store-bought salsa, plain Greek yogurt for dipping, or homemade guacamole if avocados are on sale. If you’re serving other main dishes this week, these wraps work perfectly as a side protein too.
- Mexican Rice – Mix cooked rice with diced tomatoes, cilantro, lime juice, and a pinch of cumin for brightness
- Black Bean Salad – Toss drained canned beans with diced red onion, bell pepper, lime juice, and cilantro for a cool, crunchy side
- Street Corn Elote Style – Toss corn with lime juice, cotija cheese (or feta), chili powder, and cilantro for a tangy contrast
- Simple Cucumber Salad – Slice cucumbers thin, dress with white vinegar, a pinch of sugar, and salt; it cuts through the richness perfectly
Common Mistakes to Avoid
- Rolling too loosely – A loose wrap falls apart when you bite into it. Roll firmly and fold the sides in tightly before rolling up. Practice makes perfect, and your second batch will be neater than your first
- Filling while the beef is still steaming hot – This is the number-one reason wraps get soggy. Let the beef cool for 10 minutes so it doesn’t release steam into the tortilla. Patience is the secret ingredient here
- Overstuffing each wrap – It’s tempting to pile everything in, but more doesn’t mean better. Use about ⅓ cup beef and similar portions of other fillings. Your wraps will stay together and actually taste balanced
- Skipping the foil – Wrapping in foil keeps everything warm, holds the shape, and makes reheating consistent. It’s worth the extra 10 seconds per wrap
Seasonal Variations
- Spring – Replace some lettuce with fresh spring greens or baby spinach; add shredded radishes for peppery crunch; use fresh peas instead of corn when they’re in season and inexpensive
- Summer – Use fresh corn cut from the cob instead of canned; add diced fresh tomatoes without the seeds; include fresh basil or cilantro instead of dried herbs for brightness
- Fall – Add roasted sweet potato cubes to the filling for autumn warmth; use ground turkey instead of beef; add a pinch of cinnamon to the spice blend for subtle depth
- Winter – Increase the amount of rice to stretch the beef further when fresh vegetables are expensive; use frozen corn and beans without guilt; add roasted winter squash for richness and nutrition
Make It a Complete Meal Plan
Here’s how I use these wraps in my own family’s weekly meal plan: I make a double batch of the beef filling on Sunday and freeze half. Monday night, we eat fresh wraps with simple sides. Wednesday night, I pull the frozen beef from the freezer and reheat it while the rice cooks—dinner is ready in 20 minutes with minimal dishes. Thursday, if we have leftover beef, I serve it over rice as a burrito bowl instead of rolling it. This flexibility is why I’ve made this recipe at least 100 times over the past decade. There’s no waste, no complicated technique, and no reason to order takeout when this is faster and cheaper.

Beef Wrap Recipe
Ingredients
Method
- In a small bowl, combine the onion powder, cumin, paprika, oregano, salt, black pepper, and cayenne if using. Give it a quick stir so the spices are evenly distributed. This is your secret to restaurant-quality flavor without paying for a packet. I keep this mix in a mason jar all month long—it works on chicken, beans, or vegetables too.

- Heat the olive oil in a large skillet over medium-high heat for about 30 seconds until it shimmers. Add the minced garlic and chopped onion, then cook for 2 to 3 minutes, stirring occasionally, until the onion softens and turns golden at the edges. This is where the flavor foundation starts—don't rush it.

- Add the ground beef to the skillet and break it apart with a wooden spoon or spatula as it cooks, stirring every 30 seconds or so. This takes about 5 to 7 minutes total. You'll see it transform from pink to gray to rich brown. Don't worry about getting it into tiny pieces—some texture is nice. Once it's completely browned, drain off excess fat if there's more than a tablespoon sitting in the pan.
- Sprinkle the homemade taco seasoning over the beef and stir well, then cook for 1 minute so the spices bloom and stick to the meat. Pour in the tomato paste and water, stirring until everything is evenly coated. Simmer for 3 to 4 minutes until most of the liquid absorbs but the beef still looks juicy, not dried out. This is critical—overcooked beef turns tough and bitter. Set the skillet aside and let it cool for about 10 minutes. Hot filling will steam your tortillas and make them soggy.
- While the beef cools, arrange your rice, lettuce, corn, black beans, tomatoes, red onion, cilantro, and cheese in separate small bowls. Make sure the rice is warm but not steaming hot. This is the moment where I sometimes let my kids pick and choose what goes into their wraps—it keeps them invested in eating what they built.
- Lay a tortilla on a clean work surface. Place about ⅓ cup of warm rice slightly below the center, then top with ⅓ cup of the cooled beef mixture. Add a small handful of lettuce, a sprinkle of corn, a small scoop of beans, a few pieces of tomato, some red onion, a pinch of cilantro, and a generous handful of cheese. Fold the bottom edge up over the filling, then fold in both side edges, and roll tightly toward you. Wrap each finished wrap in foil to hold it together and keep it warm. Serve immediately with yogurt and your favorite salsa, or follow the reheating instructions below.
Notes
FAQs
Can I make these wraps without cooking the beef first?
No—the beef needs to cook to eliminate harmful bacteria and develop flavor. However, you can cook it ahead (up to 4 days) and simply reheat when assembling. This actually saves time on busy nights.
My family hates cilantro. Can I leave it out?
Absolutely. Cilantro is optional in this recipe. Some people have a genetic variation that makes it taste soapy, and there’s no fixing that. Green onions, parsley, or nothing at all works just fine.
Can I use corn tortillas instead of flour?
Yes, though corn tortillas are more fragile and may tear. Warm them first to make them more flexible. They’re a good option if your family prefers them or if they’re cheaper at your store.
How long can I freeze these wraps?
Properly wrapped and stored in freezer bags, they’ll keep for up to 3 months. After that, they’re still safe but may develop freezer burn. I always label mine with the date so I know how old they are.
What’s the best way to reheat them if I’m in a hurry?
Pan-frying is fastest—2 to 3 minutes per side in a dry skillet over medium-high heat. They’ll be warm and slightly crispy. If you want melted cheese, use the oven at 350°F for 15 to 20 minutes instead.
More Quick Recipes
- Beef Stir-Fry Recipe – Ready in 25 minutes with just one pan; equally budget-friendly and flexible
- Beef Meatballs Recipe – Make ahead and freeze; serve with rice, pasta, or in these wraps for extra texture
- Best Meatballs Ever Recipe – Foolproof technique that works every single time
This beef wrap recipe has fed my family through lean months, tight budgets, and chaotic weeks when cooking felt impossible. It’s simple enough that my teenagers can make it, flexible enough to satisfy picky eaters, and budget-conscious enough that I can make it twice a month without guilt. Give it a try tonight. I promise you’ll be back for more. Happy Cooking!