
Ingredients
Method
Step 1: Make Your Homemade Taco Seasoning
- In a small bowl, combine the onion powder, cumin, paprika, oregano, salt, black pepper, and cayenne if using. Give it a quick stir so the spices are evenly distributed. This is your secret to restaurant-quality flavor without paying for a packet. I keep this mix in a mason jar all month long—it works on chicken, beans, or vegetables too.

Step 2: Cook the Aromatics
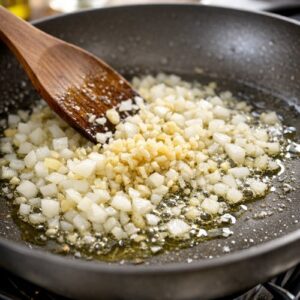
- Heat the olive oil in a large skillet over medium-high heat for about 30 seconds until it shimmers. Add the minced garlic and chopped onion, then cook for 2 to 3 minutes, stirring occasionally, until the onion softens and turns golden at the edges. This is where the flavor foundation starts—don't rush it.
Step 3: Brown the Ground Beef
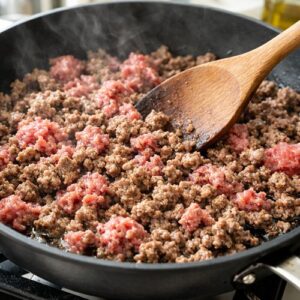
- Add the ground beef to the skillet and break it apart with a wooden spoon or spatula as it cooks, stirring every 30 seconds or so. This takes about 5 to 7 minutes total. You'll see it transform from pink to gray to rich brown. Don't worry about getting it into tiny pieces—some texture is nice. Once it's completely browned, drain off excess fat if there's more than a tablespoon sitting in the pan.
Step 4: Season and Simmer the Beef
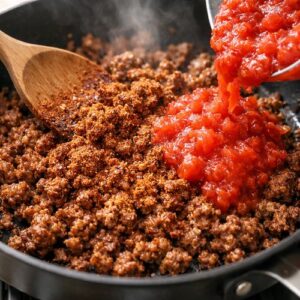
- Sprinkle the homemade taco seasoning over the beef and stir well, then cook for 1 minute so the spices bloom and stick to the meat. Pour in the tomato paste and water, stirring until everything is evenly coated. Simmer for 3 to 4 minutes until most of the liquid absorbs but the beef still looks juicy, not dried out. This is critical—overcooked beef turns tough and bitter. Set the skillet aside and let it cool for about 10 minutes. Hot filling will steam your tortillas and make them soggy.
Step 5: Prepare Your Fillings
- While the beef cools, arrange your rice, lettuce, corn, black beans, tomatoes, red onion, cilantro, and cheese in separate small bowls. Make sure the rice is warm but not steaming hot. This is the moment where I sometimes let my kids pick and choose what goes into their wraps—it keeps them invested in eating what they built.

Step 6: Roll and Wrap
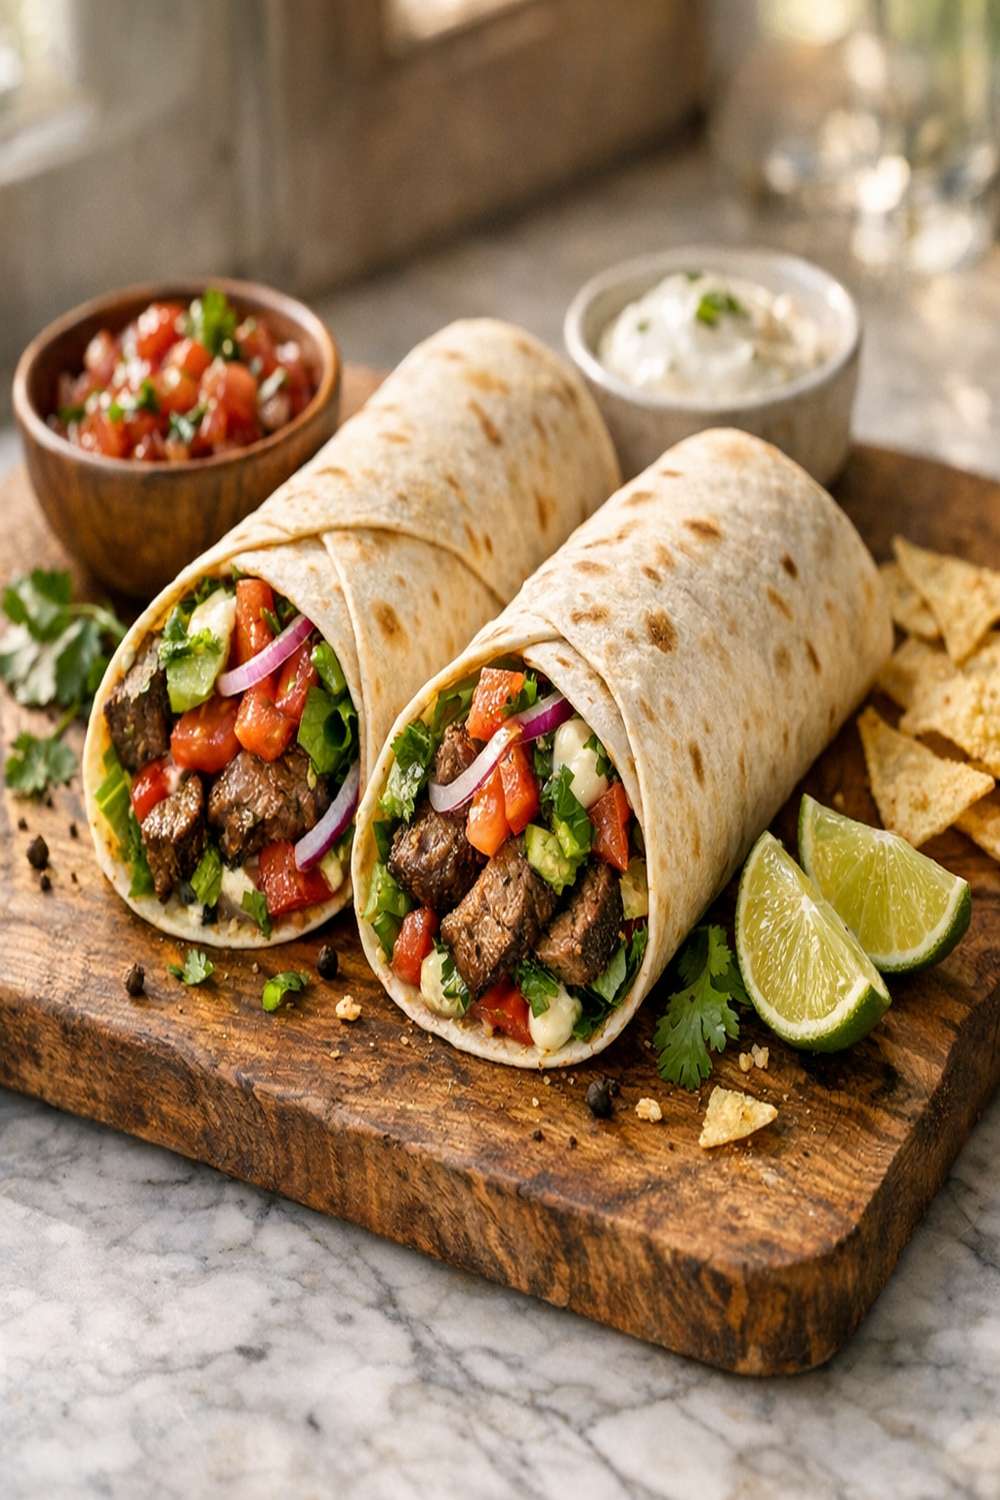
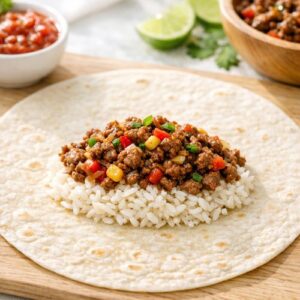
- Lay a tortilla on a clean work surface. Place about ⅓ cup of warm rice slightly below the center, then top with ⅓ cup of the cooled beef mixture. Add a small handful of lettuce, a sprinkle of corn, a small scoop of beans, a few pieces of tomato, some red onion, a pinch of cilantro, and a generous handful of cheese. Fold the bottom edge up over the filling, then fold in both side edges, and roll tightly toward you. Wrap each finished wrap in foil to hold it together and keep it warm. Serve immediately with yogurt and your favorite salsa, or follow the reheating instructions below.
Notes
- Prep the beef filling on Sunday - Cook through Step 4 and store the cooled beef in an airtight container in your refrigerator for up to 4 days. Reheat gently in a skillet with 1 tablespoon water before rolling. This cuts your weeknight cooking time to 5 minutes
- Assemble wraps and freeze for later - Roll the wraps as directed in Step 6, wrap tightly in foil, then place them in a freezer bag labeled with the date. They'll keep frozen for up to 3 months. Thaw overnight in the refrigerator or reheat straight from frozen using the oven method below
- Build a wrap-filling station - Chop all vegetables the night before and store in separate containers. Cook rice ahead and refrigerate. On dinner night, just warm the beef and rice, set out your bowls, and let everyone assemble their own wraps in 10 minutes
- Make double batches - If you're already cooking ground beef, why not make two? Store half in the fridge for mid-week wraps and freeze the other half for the following week