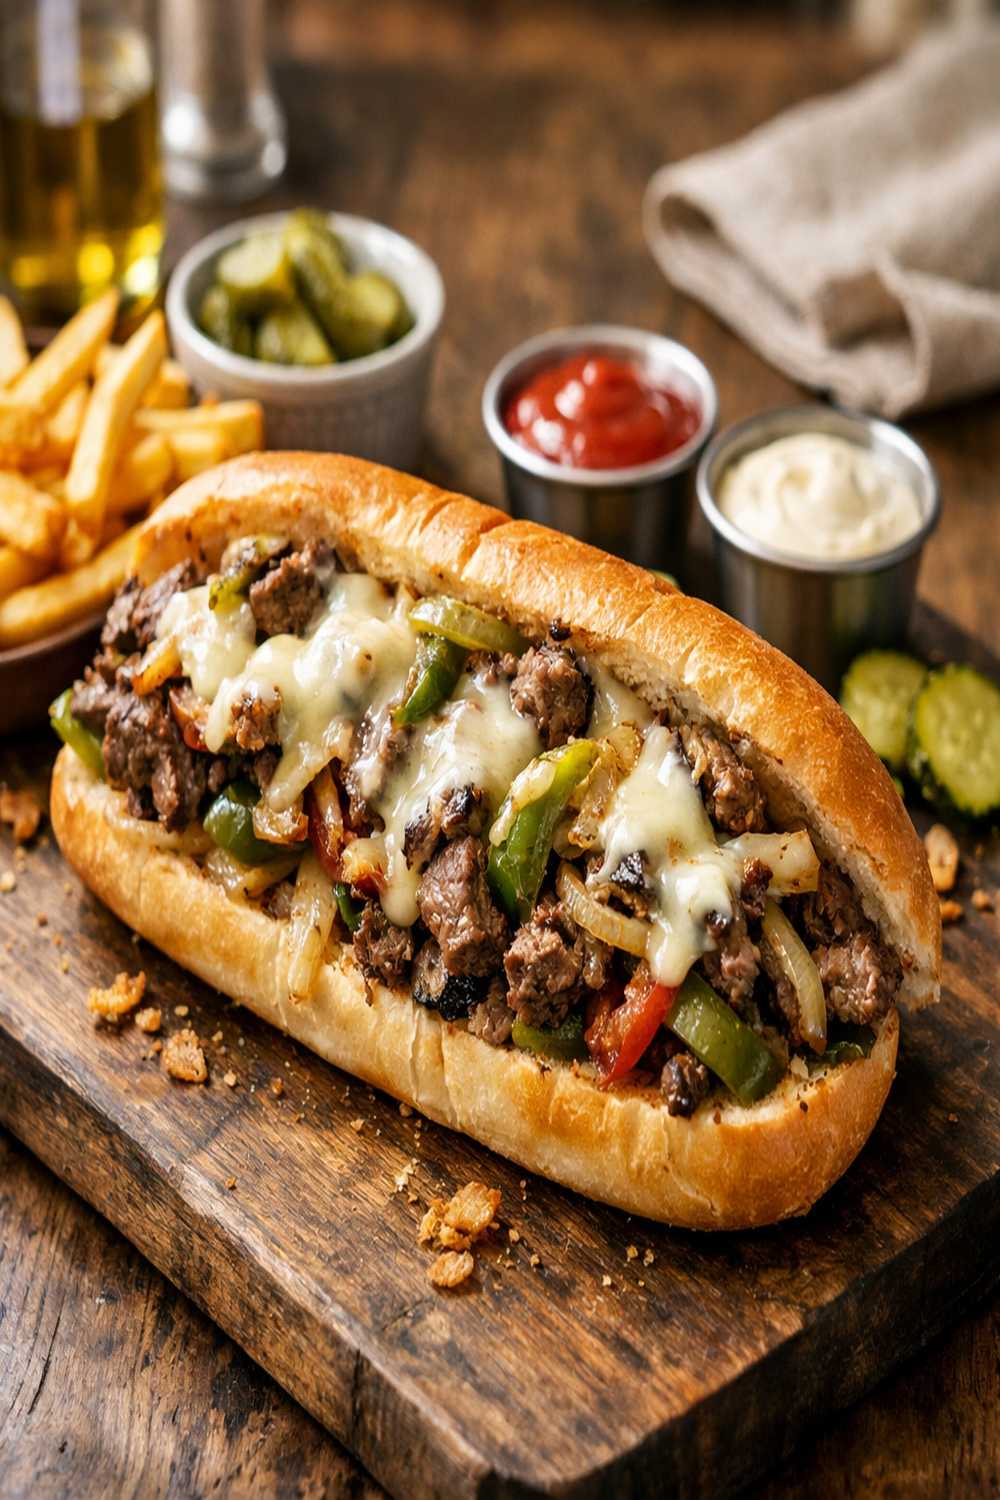

Ingredients
Method
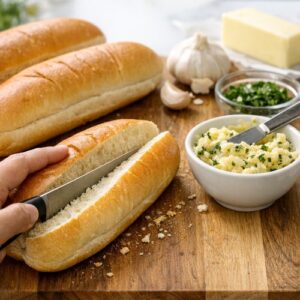
Step 1: Prep Your Rolls and Make Garlic Butter
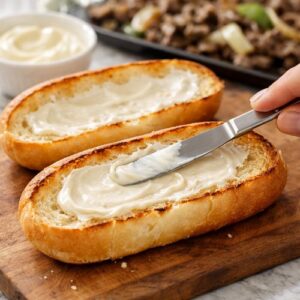
- This is the easiest step, but it's crucial because you need your rolls ready before the meat is cooked. Use a serrated knife to slice each hoagie roll three-quarters of the way through. You're creating a hinge—the roll stays connected on one side, but opens fully like a book. If you cut all the way through, the bottom half falls away and becomes messy. The three-quarter cut keeps everything together. Now make your garlic butter. Press one fresh garlic clove into a small bowl. If you don't have a garlic press, mince the garlic as finely as you can with your knife. Add your 2 tablespoons of softened butter. Stir until the garlic is completely mixed in. This takes about 30 seconds. You want a uniform golden spread, not garlic chunks floating around. Spread this garlic butter onto the inside of each roll. Use about half a tablespoon per roll. Don't be shy—you want a thin layer covering all the cut surfaces. This will toast beautifully and add incredible flavor.
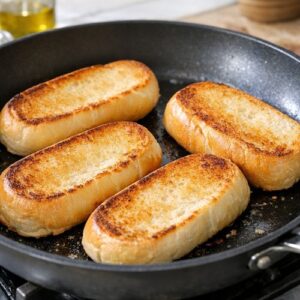
Step 2: Toast Your Rolls
- Heat your skillet over medium heat for about 2 minutes until it's warm (not screaming hot). Place all four rolls in the skillet, cut-side down. You're toasting the buttered insides until they're golden brown and crispy. This usually takes 3 to 5 minutes depending on your heat. You'll know they're done when the butter is absorbed and the bread is golden, with maybe a tiny bit of char. Don't walk away. This step is fast, and burned bread is bitter and ruined. Stay close and watch. When they look perfect, transfer them to a clean plate and set aside. They'll stay warm for several minutes.
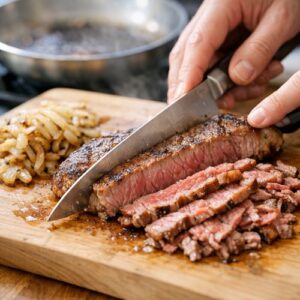
Step 3: Prepare Your Beef and Onions
- If your butcher didn't slice your beef, do it now while your pan is still warm. Place your ribeye on a cutting board. Using a sharp knife, slice the beef across the grain (perpendicular to the muscle fibers) into pieces about the thickness of a coin—roughly ⅛ inch. The thinner your slices, the faster they'll cook and the more tender they'll be. If your pieces are slightly uneven, that's okay. Some will be thicker and need 30 extra seconds; some will be thin and cook faster. They all end up delicious. Dice your large sweet onion into ½-inch pieces. It doesn't need to be perfect. Onions will shrink and soften, so exact size matters less here than with the beef. Just aim for roughly equal pieces so they cook evenly.
Step 4: Caramelize Your Onions (The Secret Step)
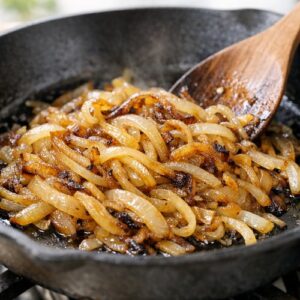
- This is where patience separates good cheesesteaks from great ones. Add 1 tablespoon of cooking oil to your skillet over medium heat. Wait about 1 minute for it to heat. Add your diced onions to the hot oil. You'll hear a sizzle. This is right. Don't stir constantly. This is the most important instruction in this entire recipe. Stir occasionally—maybe every 2 minutes—but mostly let the onions sit still. When onions sit undisturbed on hot oil, they develop a brown crust on the bottom. This crust is where the flavor lives. If you stir constantly, you never get this crust. After about 8 to 10 minutes, your onions should be soft, golden, and deeply caramelized. You're looking for onions that have turned from white to medium brown. Some darker brown spots are beautiful. The kitchen should smell amazing—sweet, rich, and almost nutty. Sprinkle very lightly with salt. This draws out moisture and helps the caramelization process. Cook another minute or two if needed. Transfer your caramelized onions to a clean bowl. Set aside. This is a component you'll use in the final assembly.
Step 5: Sear Your Beef (The Crucial Moment)
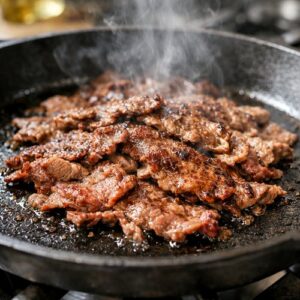
- This is the step that determines whether your beef is tender or tough. Here's what matters: high heat, thin meat, and not moving it around too much. Increase your skillet heat to high. Wait 2 minutes for it to get very hot. Add 1 tablespoon of fresh cooking oil. The oil should shimmer immediately and spread easily across the pan. If it doesn't, your pan isn't hot enough yet. Spread your thinly sliced beef across the pan in a single layer. You want to cover most of the pan, but don't overlap the slices on top of each other. Let the beef sit undisturbed for about 2 to 3 minutes. This is called a sear, and it creates a brown crust on one side. Don't poke it, don't flip it, just let it work. After 2 to 3 minutes, flip each piece. The bottom should be brown and caramelized. If it's still gray, give it another minute. Once flipped, immediately sprinkle with your ½ teaspoon of salt and ½ teaspoon of black pepper. The beef will continue cooking for another 1 to 2 minutes on this side. You're aiming for beef that's cooked through but still tender—no gray or pink should remain. Stir gently. Break up any pieces sticking together, and mix everything so the seasoning distributes evenly. Cook for another 30 seconds to 1 minute, then stir in your reserved caramelized onions. Toss gently until everything is combined.
Step 6: Add Cheese and Let It Melt (Timing Is Everything)
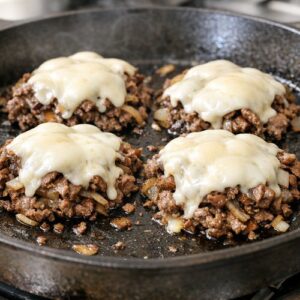
- Divide your beef and onion mixture into four even portions in the pan. You can do this by pushing the mixture into four rough sections, or by scooping it into four piles. Don't worry about precision—roughly equal is fine. Top each portion with two slices of provolone cheese. Lay the cheese flat over the beef. Immediately turn off the heat. This is critical. The residual heat from the pan will melt the cheese perfectly without overcooking the beef. If you leave the heat on, the beef will dry out while waiting for cheese to melt. Wait 30 to 60 seconds. Watch the cheese. When it's soft and starting to pool, it's ready. You're not waiting for it to be fully melted into a puddle—just soft enough to stay together when you move it.
Step 7: Assemble Your Sandwiches
- Spread a thin layer of mayonnaise on the toasted inside of each roll. About ½ to 1 tablespoon per roll. Not too much—mayo is rich, and a thin layer is all you need. Here comes the fun part, and it requires focus but no special skill. Working with one portion at a time, pick up a toasted roll and position it over one beef portion. The open, mayonnaise-side of the roll should face down toward the beef. Using a spatula, gently push the beef and cheese from the pan onto the bread, then flip the whole thing onto a plate. The roll becomes the top of your sandwich, and everything stays together. Repeat for all four sandwiches. Serve warm immediately. The cheese will still be melting, the bread will still be warm, and everything tastes perfect.
Notes
- 1 pound ribeye steak (ask the butcher to trim the fat cap and slice it thin, or buy a whole steak and slice it yourself at home)
- 8 slices provolone cheese (buy mild provolone from the deli counter, not aged or smoked—it melts more smoothly)
- 4 hoagie rolls (also called sub rolls or Italian rolls; buy from the bakery section the same day you're cooking, not pre-packaged if possible)
- 2 tablespoons unsalted butter (softened to room temperature)
- 1 garlic clove (fresh, not jarred or powdered)
- 2 to 4 tablespoons mayonnaise (use full-fat, not light—it tastes better and spreads easier)