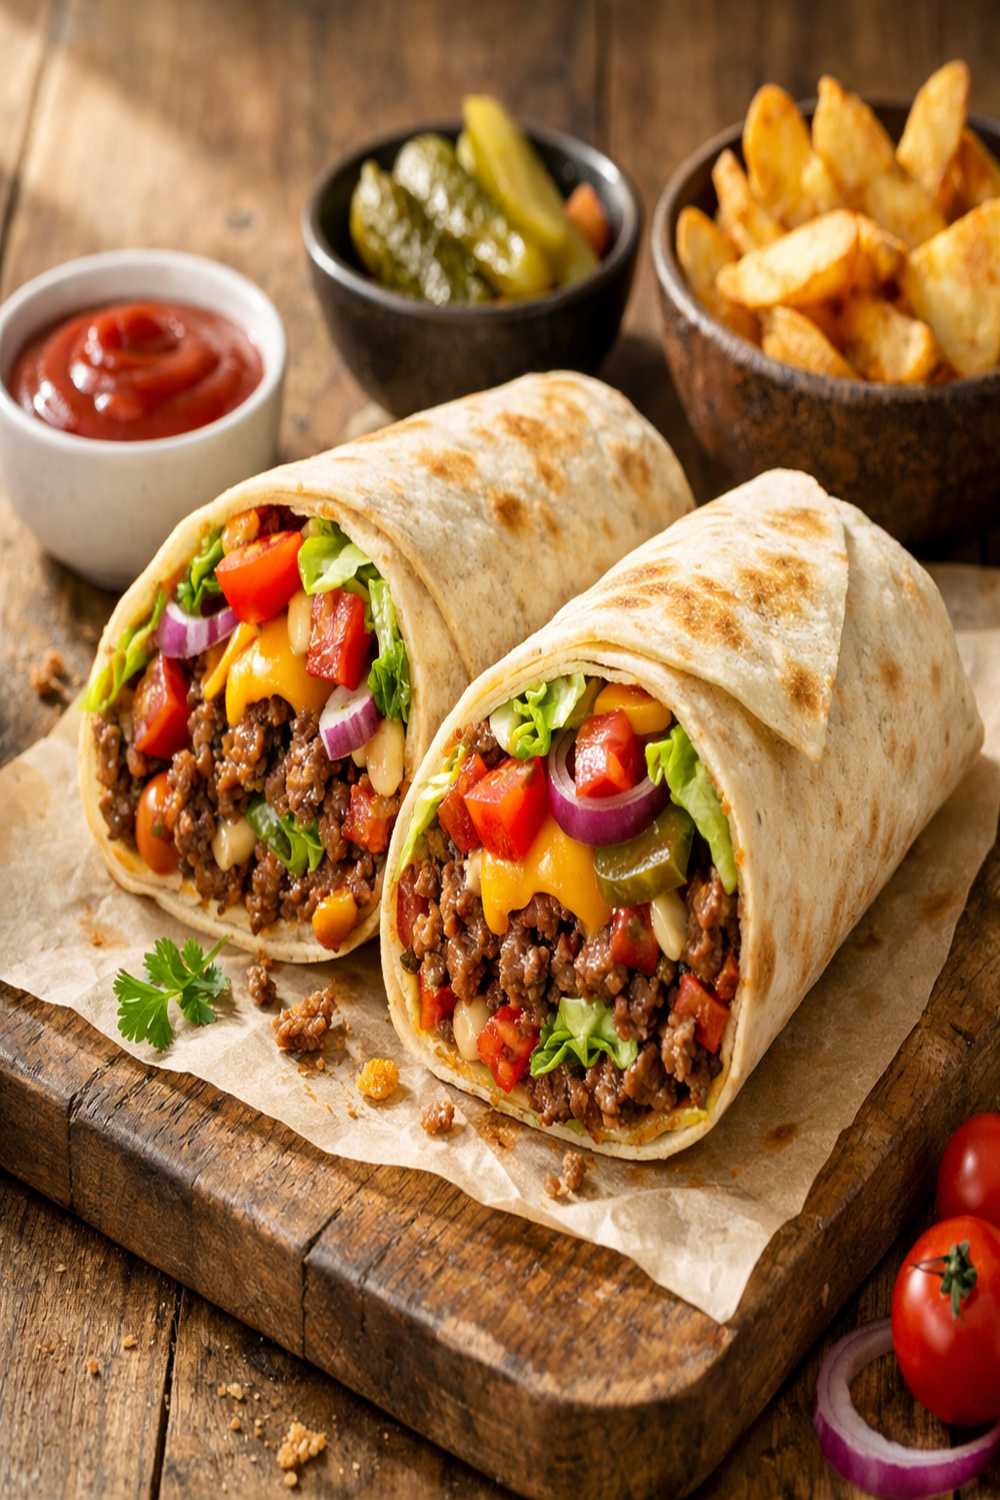

Ingredients
Method
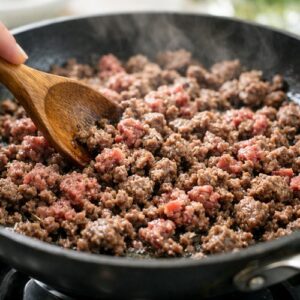
Step 1: Brown and Crumble the Beef
- Heat your skillet over medium-high heat and add the pound of ground beef. Use a wooden spoon or spatula to break it into small crumbles as it cooks. This step takes about 5 minutes. You want no pink remaining. Once it's cooked through, carefully tilt the pan and drain any excess grease into a small container (save it for cooking vegetables later—waste nothing).
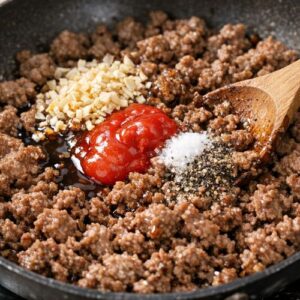
Step 2: Build the Flavor Base
- Add the Worcestershire sauce, ketchup, dried onion, salt, and pepper directly to your cooked beef. Stir everything together so the seasoning coats every bit of meat. This is where the magic happens—the flavors meld and deepen. Lower your heat to medium and let it all warm through for about 3 minutes. You'll notice the mixture becomes glossy and smells incredible. This is your signal that you're ready to assemble.
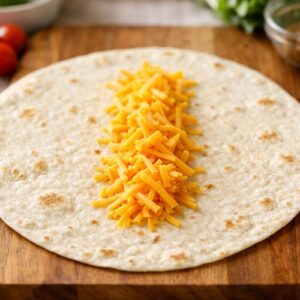
Step 3: Assemble on the Tortillas
- Lay one tortilla flat on your cutting board. Sprinkle about 3 tablespoons of shredded cheddar down the center, leaving room on both sides. Divide your beef mixture evenly (about ¼ of the total) and pile it right over the cheese. Drizzle a small amount of mustard on top, then add 2-3 tomato slices. Repeat with the remaining three tortillas. Don't overfill—this makes rolling much easier.
Step 4: Roll and Grill
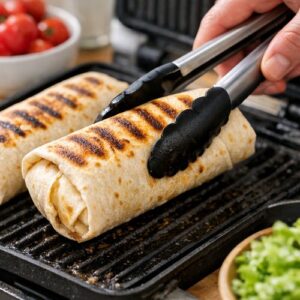
- Roll each tortilla burrito-style: fold in the sides first, then roll from bottom to top, keeping it snug but not squeezed. If you have a grill (indoor or outdoor), preheat it to medium heat. Place two wraps seam-side down on the grill. Cook for 3-4 minutes on each side until you see golden-brown grill marks and the tortilla is crispy. If you don't have a grill, use a regular skillet over medium heat and do the same thing—same results, zero fancy equipment needed.
Step 5: Finish with Fresh Toppings and Serve
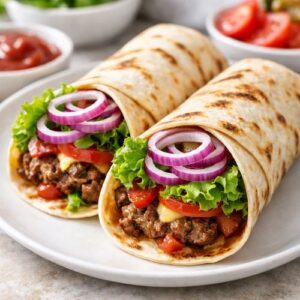
- Remove the wraps carefully and place on a plate. Gently unroll each wrap just enough to tuck in a handful of fresh lettuce and red onion slices. This keeps the lettuce crisp and cool against the warm filling. Re-roll it gently, cut diagonally down the center (this creates that restaurant presentation), and serve immediately. The contrast between the crispy exterior and tender filling is exactly what makes this special.
Notes
- Prep the beef filling the night before - Brown and season the meat, store it in an airtight container in the fridge, and you've just cut your cooking time to 10 minutes the next day. The flavors actually deepen overnight, making the next day's version even better
- Assemble wraps but don't grill them - Wrap each one in foil or parchment paper, refrigerate for up to 2 days, then grill when you're ready to eat. This is perfect for batch cooking on Sunday for weeknight dinners. Just add an extra minute to the grill time since they're cold
- Chop all vegetables the morning of - Store lettuce, tomatoes, and red onions in separate containers with paper towels to absorb moisture. They'll stay crisp for the entire day, and assembly takes literally 5 minutes
- Brown multiple pounds of beef at once - Season and freeze individual portions (about ¼ pound each in a flat bag), and you can thaw one portion for a single wrap or four portions for a family meal. This cuts your actual cooking time to near-zero on busy nights