
Ingredients
Method
Step 1: Prepare Your Pan and Preheat Your Oven
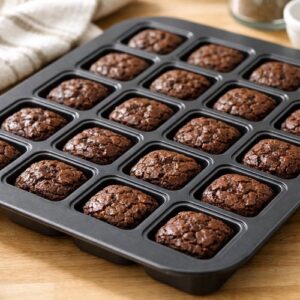
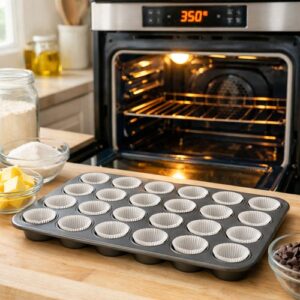
- Set your oven to 350°F and let it preheat fully while you gather ingredients. This takes about ten minutes, and it's important—a properly preheated oven means the edges don't over-bake before the centers set. Use a 24-cup mini-muffin pan and either butter each well lightly or spray with cooking spray. I use a combination: a light spray, then I run my finger around each well to make sure coverage is even. This prevents sticking while keeping the brownie texture clean.
Step 2: Melt Butter and Combine Dry Ingredients
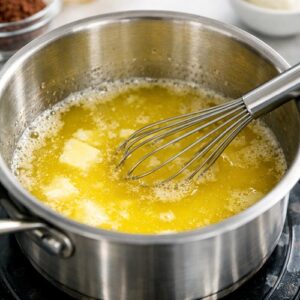
- Pour your ten tablespoons of unsalted butter into a medium saucepan and melt over medium heat. Don't let it brown—you want it liquid and just slightly cooled. Once melted, remove from heat immediately. This is where patience matters. If you dump cold eggs into hot butter, you'll cook them into the batter and lose that smooth texture. Wait five minutes. While the butter cools, grab a small bowl and whisk together your sugar, cocoa powder, salt, and espresso powder if using. Whisk aggressively for about thirty seconds. This breaks up any cocoa powder clumps and ensures even chocolate distribution. Cocoa powder loves to clump, and unbroken clumps become bitter pockets in your brownies.
Step 3: Combine Butter and Dry Mixture
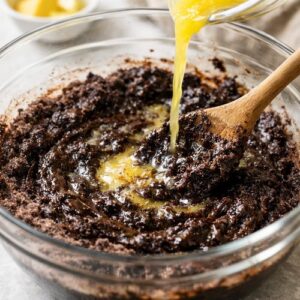
- Pour the slightly cooled melted butter into your sugar-cocoa mixture. Stir everything together vigorously for about one minute. The mixture will look glossy and slightly thick—that's exactly right. Add your vanilla extract and stir to combine. This step develops a subtle sheen that signals proper emulsification. Don't skip the stirring; lazy mixing creates separated, grainy brownies.
Step 4: Temper and Add Eggs
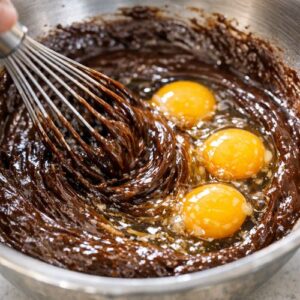
- Here's the technique that separates professional results from amateur brownies: add your eggs quickly, then whisk immediately and continuously for about thirty seconds. Room temperature eggs incorporate faster and create a smoother batter. The vigorous whisking prevents the eggs from scrambling in the warm mixture and creates tiny air bubbles that give you that fudgy texture instead of a dense, heavy brownie.
Step 5: Add Flour and Chocolate Chips
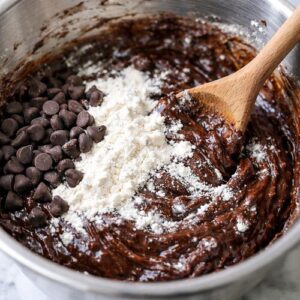
- Add your half cup of flour and stir until you see just a few flour streaks remaining—this is critical. Overmixing flour develops gluten, which makes brownies cake-like instead of fudgy. Fold in your chocolate chips with a final few stirs. A few flour specks are fine; you'll stir them away naturally as you fold in the chocolate.
Step 6: Portion Into Your Prepared Pan
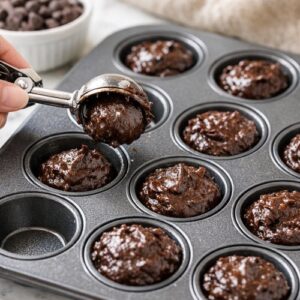
- Using a small ice cream scoop or a tablespoon measuring spoon, drop batter into each well of your prepared pan. Fill each well until it's about two-thirds full—this allows room for the brownie to rise and create that beautiful crackled top. If you overfill, they'll spill slightly, and if you underfill, you'll get flat, dense brownies.
Step 7: Bake to Perfect Doneness
- Bake for 12-15 minutes, checking at the twelve-minute mark. You're looking for the tops to look set and shiny with visible cracks, but when you gently jiggle the pan, the centers should move just slightly. A toothpick inserted in the center should come out with a few moist crumbs attached—not wet batter, but not completely clean either.
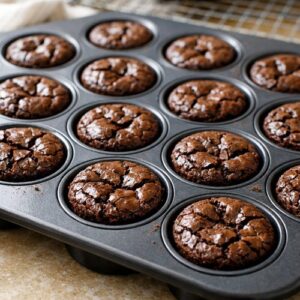
Step 8: Cool and Release
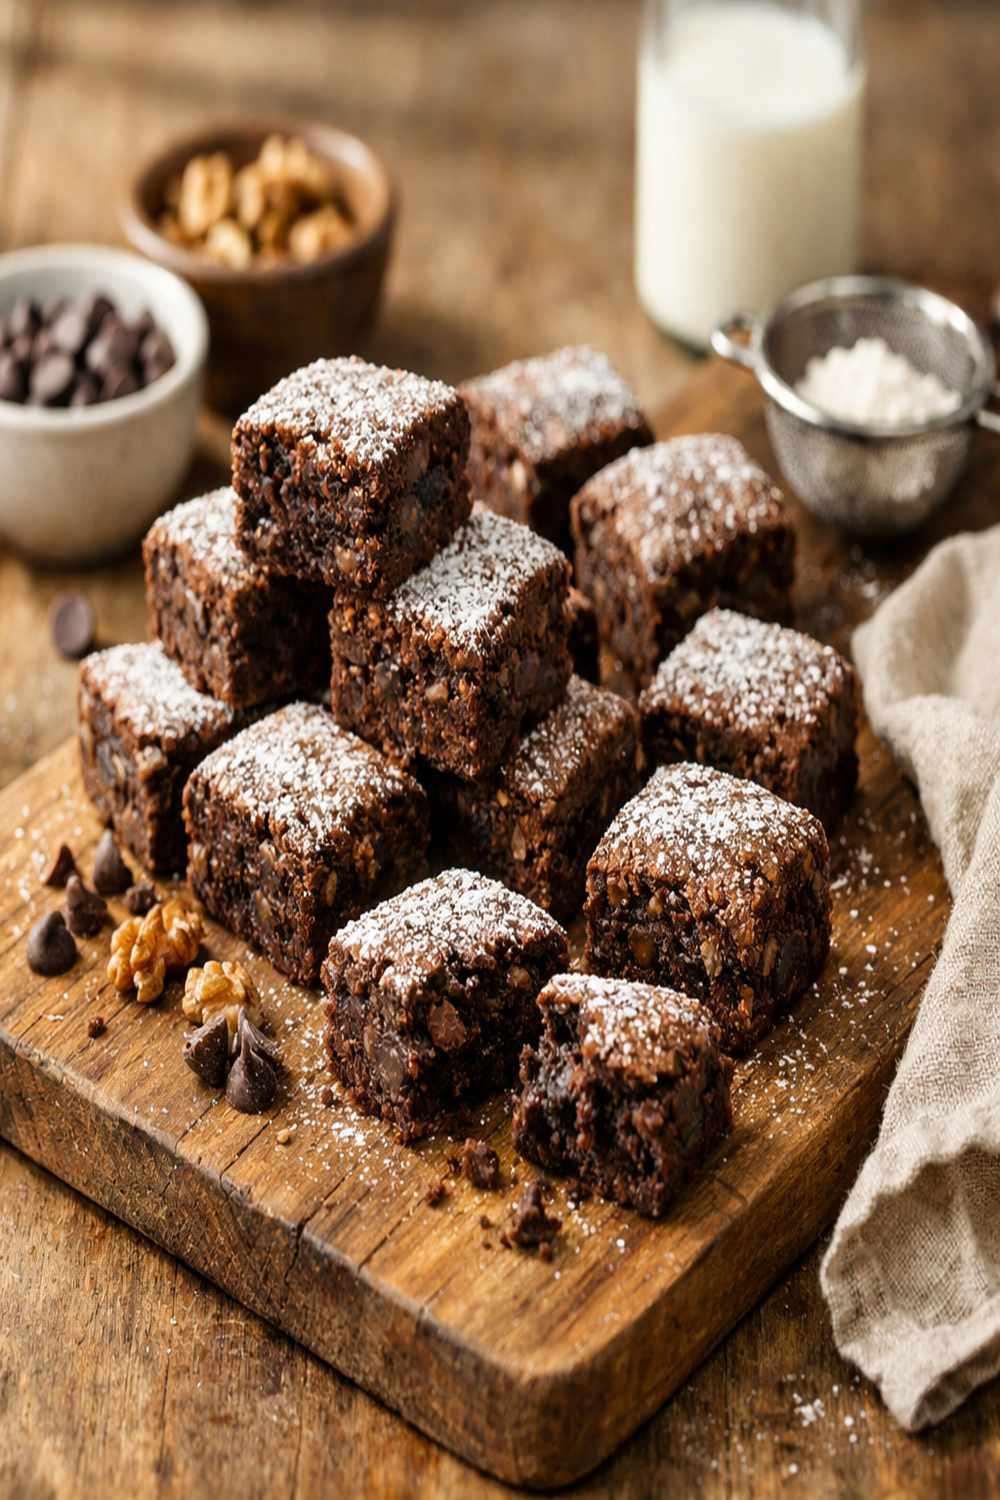
- Let the brownies cool in the pan for exactly ten minutes. This resting period allows the structure to set enough that they won't crumble when you remove them, but they're still warm enough to release easily. Run the tip of a small knife around each brownie's edge and gently lift them out onto a wire cooling rack. Don't try to remove them while piping hot or totally cold—ten minutes is the magic window.