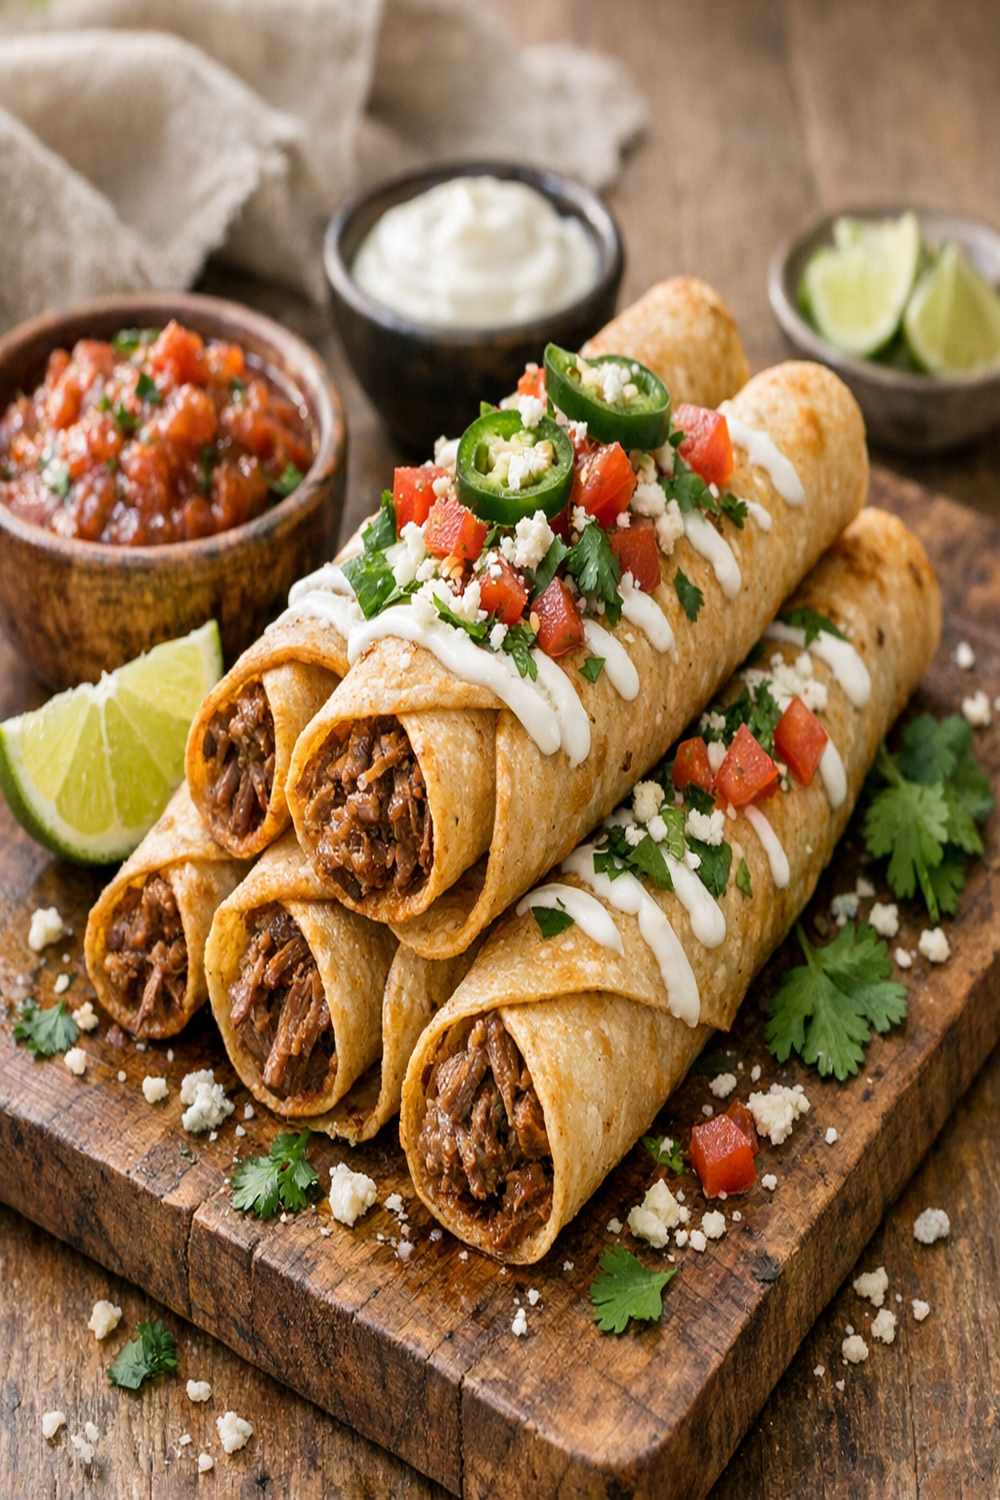

Ingredients
Method
Step 1: Prepare Your Beef Chuck Roast for Cooking
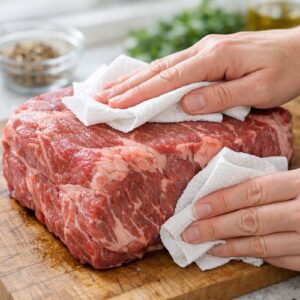
- Pat the chuck roast dry with paper towels. This might seem unnecessary, but it makes a difference. Moisture on the surface prevents proper seasoning adhesion. Trim any large thick pieces of fat from the outside, but leave the marbling inside—that's what makes the cooked meat so tender and flavorful. Sprinkle the roast generously with salt and freshly ground black pepper on all sides. Don't be shy. This is your only chance to season the meat from the outside.
Step 2: Combine Your Cooking Liquid and Spices
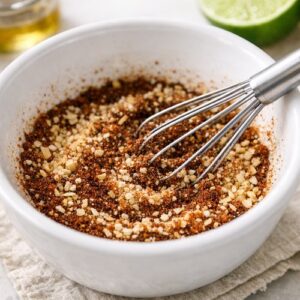
- In a small bowl, whisk together the chili powder, garlic powder, cumin, and dried minced onion. This ensures the spices are evenly distributed instead of settling to the bottom of your pot. Pour the beef broth into your Instant Pot insert (or slow cooker). Stir in the salsa and the spice mixture until well combined. This combination creates a cooking liquid that's deeply flavored but not overwhelming. The salsa adds tomato acid, which helps break down the muscle fibers and speeds tenderizing.
Step 3: Cook the Meat (Instant Pot Method)
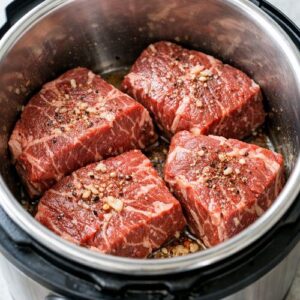
- If using an Instant Pot: Cut the chuck roast into four large, roughly equal pieces. This increases surface area and ensures even cooking. Place all pieces on the trivet, then carefully lower them into the cooking liquid. You don't need to submerge them completely—the steam does most of the work. Seal the Instant Pot and set to high pressure for 50 minutes. When the timer beeps, do not release pressure immediately. Instead, let the pressure release naturally for 15-20 minutes. This is crucial. Quick release would shock the meat fibers and make shredding difficult. Natural release keeps everything tender.
Step 4: Cook the Meat (Slow Cooker Alternative)
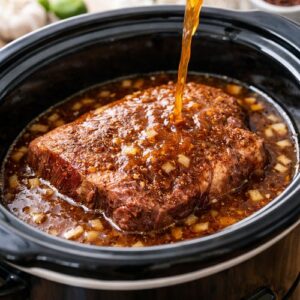
- If using a slow cooker: Place the whole chuck roast in the slow cooker and pour the spiced broth mixture over it. Cook on LOW for 7-8 hours until the meat shreds easily with a fork. You'll know it's ready when you can pull it apart without resistance. The slow cooker method takes longer but uses less energy and is perfect for meal prepping on your day off. The result is equally tender and flavorful.
Step 5: Shred and Drain the Meat
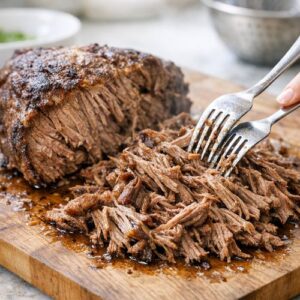
- Remove the cooked roast to a clean cutting board or large plate. Let it cool just enough to handle—about 5 minutes. Using two forks, pull the meat apart into shreds about the size of a pencil eraser. Don't make it too fine. Once shredded, return the meat to the pot with the cooking liquid. Use a slotted spoon to transfer meat from the liquid into a separate bowl, leaving most of the liquid behind. You want the meat moist but not dripping wet, or your taquitos will get soggy. Discard any large pieces of fat that didn't render. Some fat is good—it carries flavor—but large chunks should go.
Step 6: Warm Your Tortillas for Flexibility
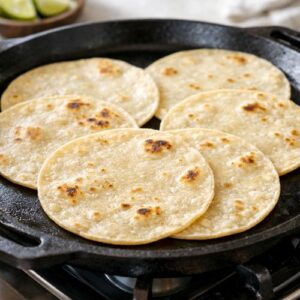
- Place a non-stick griddle or cast iron skillet over medium-high heat. Working with about five tortillas at a time, cook each one for 15-30 seconds on each side. The goal is warmth and flexibility, not browning. The tortillas should be pliable enough to roll without cracking. Transfer warmed tortillas to a plate covered with foil to keep them warm and steamed. This is the difference between taquitos that hold together and ones that crack during rolling.
Step 7: Fill and Roll Your Taquitos
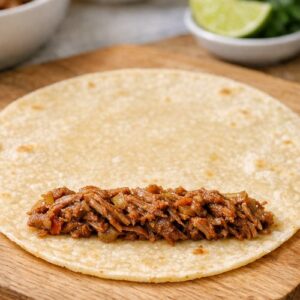
- Place a warm tortilla on a clean surface. Spoon about 2 tablespoons of the shredded beef mixture into a line at one end of the tortilla, leaving about half an inch from the edge. The amount matters—too little and they're skimpy, too much and they won't seal properly. Starting from the filled end, roll the tortilla tightly away from you, squeezing gently as you go. The tortilla should be snug around the filling. Once rolled, secure it with a wooden toothpick through the seam to hold it together during cooking. Place the filled taquito seam-side down on a plate. Work quickly so the tortillas stay warm and pliable. Cold tortillas crack.
Step 8: Choose Your Cooking Method—Frying
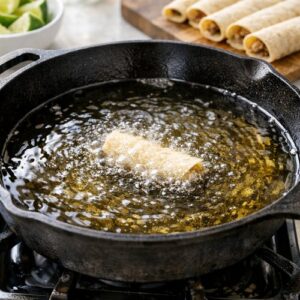
- If you're frying: Pour about 1.5 inches of neutral oil (canola or vegetable) into a large, heavy skillet. Heat over medium-high heat until a small piece of tortilla sizzles immediately when it touches the oil. The temperature should be around 350-375°F. Working in small batches of 3-4 taquitos at a time, carefully place them seam-side down into the hot oil. Fry for about 10-15 seconds per side, rotating them frequently so all sides get golden and crispy. They'll cook faster than you expect. Transfer fried taquitos to a paper towel-lined plate. The paper towels absorb excess oil and keep them crispy instead of greasy.
Step 9: Choose Your Cooking Method—Baking
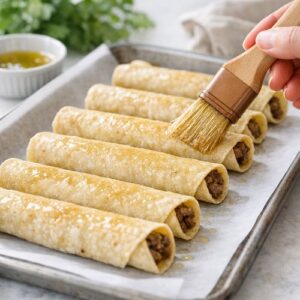
- If you prefer baking: Preheat your oven to 425°F. Arrange taquitos seam-side down on a baking sheet lined with parchment paper. Lightly brush the tops with oil or spray them with cooking spray. Bake for 15-20 minutes until the shells are golden and crispy. They won't brown as deeply as fried versions, but they'll still have a satisfying crunch with far less oil. Baked taquitos are my preferred method for regular family meals because they're easier to make and feel less heavy. I fry them only for special occasions.
Step 10: Season and Serve Immediately
- Once cooked, sprinkle the taquitos lightly with salt while they're still hot. The salt sticks better and seasons the exterior. Arrange them on a serving platter and serve with salsa, sour cream, guacamole, and shredded cheese on the side. Fresh lime wedges and hot sauce are great additions too. Serve taquitos while they're still warm and crispy—they're best within 15-20 minutes of cooking.