Ingredients
Method
Step 1: Gather Your Tools
- Start by gathering your mixing bowl, measuring spoons, and a whisk or fork. You want to have everything within reach to keep things efficient. If you have a small airtight jar, that’s even better for storage.
Step 2: Measure Your Ingredients
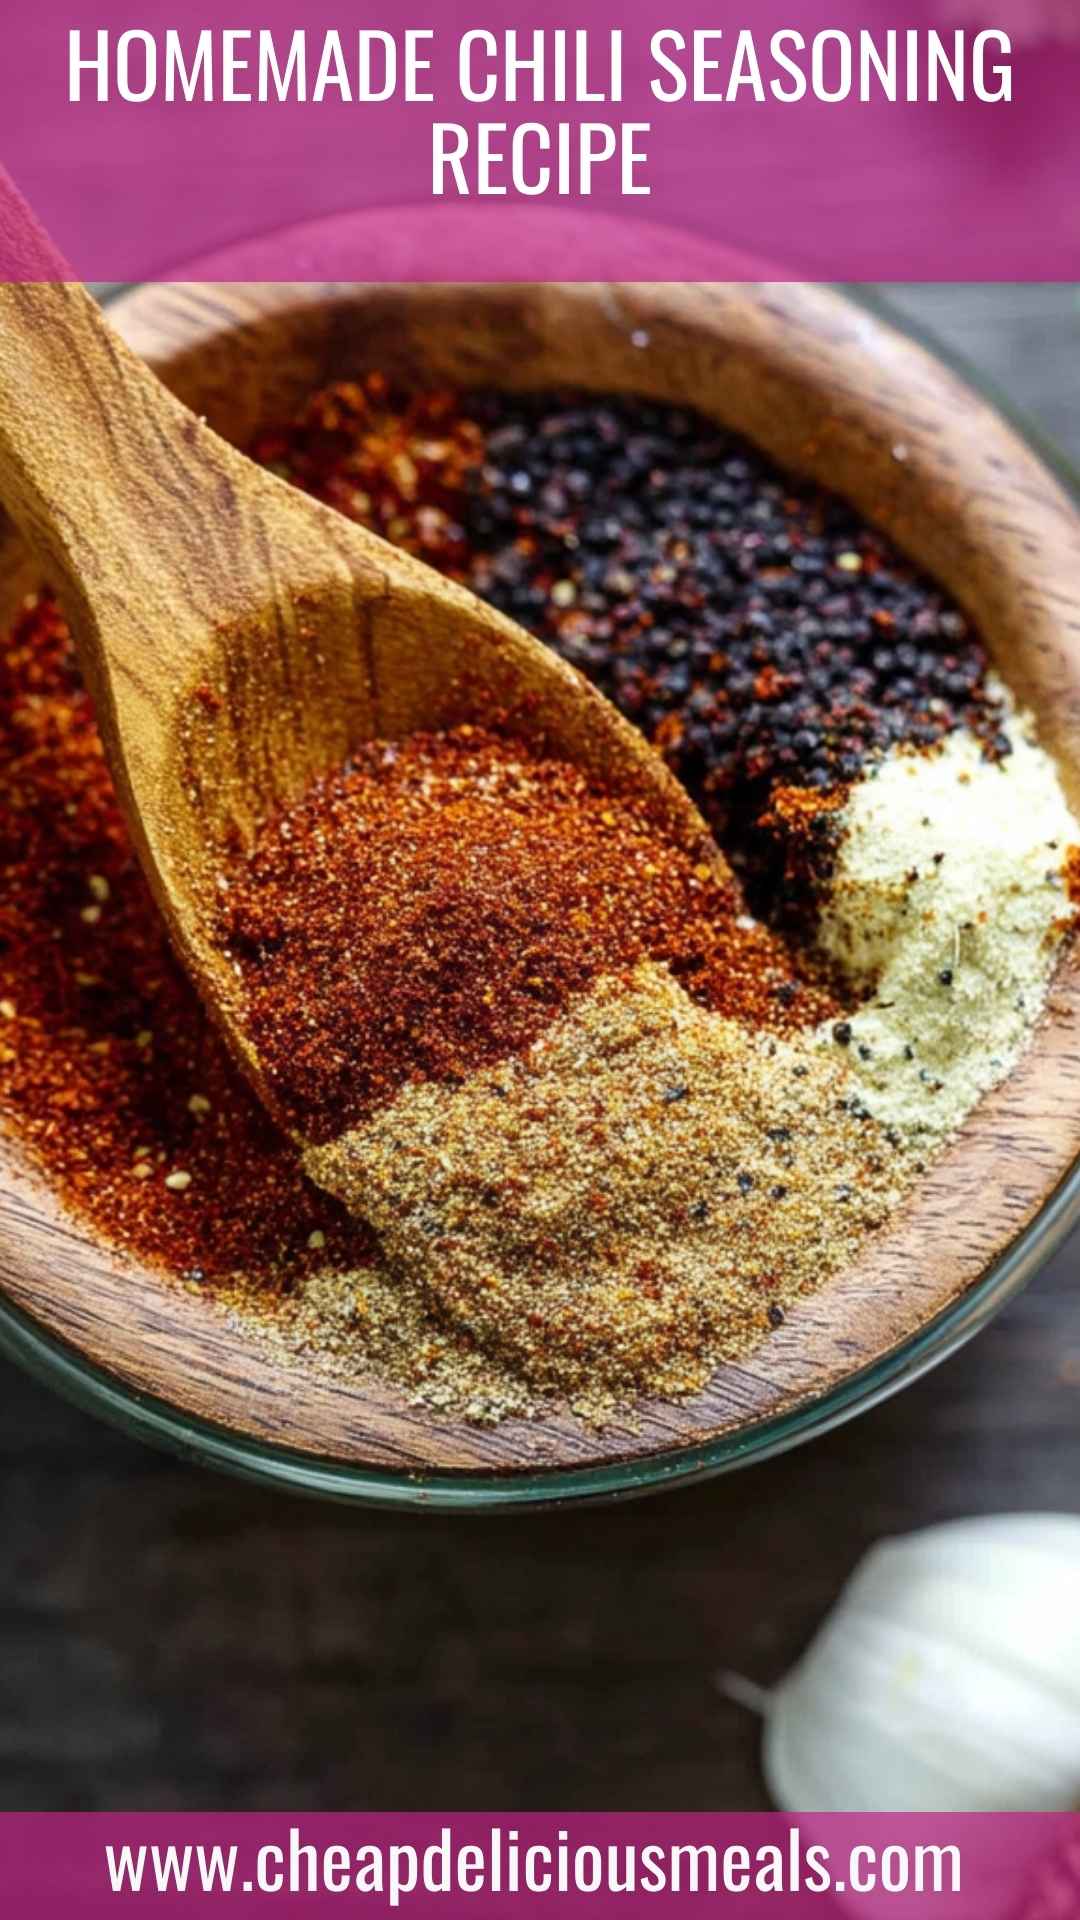
- Now it’s time to measure out each ingredient carefully. This is where the magic begins! Pour each spice into your mixing bowl. Remember to level off your measurements for accuracy.
Step 3: Mix It Up
- Once all the ingredients are in the bowl, grab your whisk or fork. Blend the spices until they're evenly combined. This may take a minute or two—it’s worth it to ensure every bite of chili packs the same punch!
Step 4: Store Your Seasoning
- Transfer your chili seasoning to your airtight jar. Label it with the date and name. This ensures you remember when you made it and what’s inside. Stored in a cool, dark place, it will stay flavorful for up to six months.
Step 5: Get Cooking!
- Now that you have your homemade seasoning, it’s time to use it. Add it to your chili recipes, sprinkle it on grilled vegetables, or mix it into your tacos for a flavorful boost.
Notes
- Start Slowly: If you’re unsure about spiciness, start by adding a small amount to your dish. You can always increase it if needed.
- Experiment: Feel free to adjust the ratios of spices until you find your perfect balance.
- Storing: Keep your seasoning in an airtight jar away from heat and light to maintain its freshness.
- Double the Batch: If you love it, consider making a larger batch to have on hand.
- Label Clearly: Include the date on your jar so you know when to replace it.