Ingredients
Method
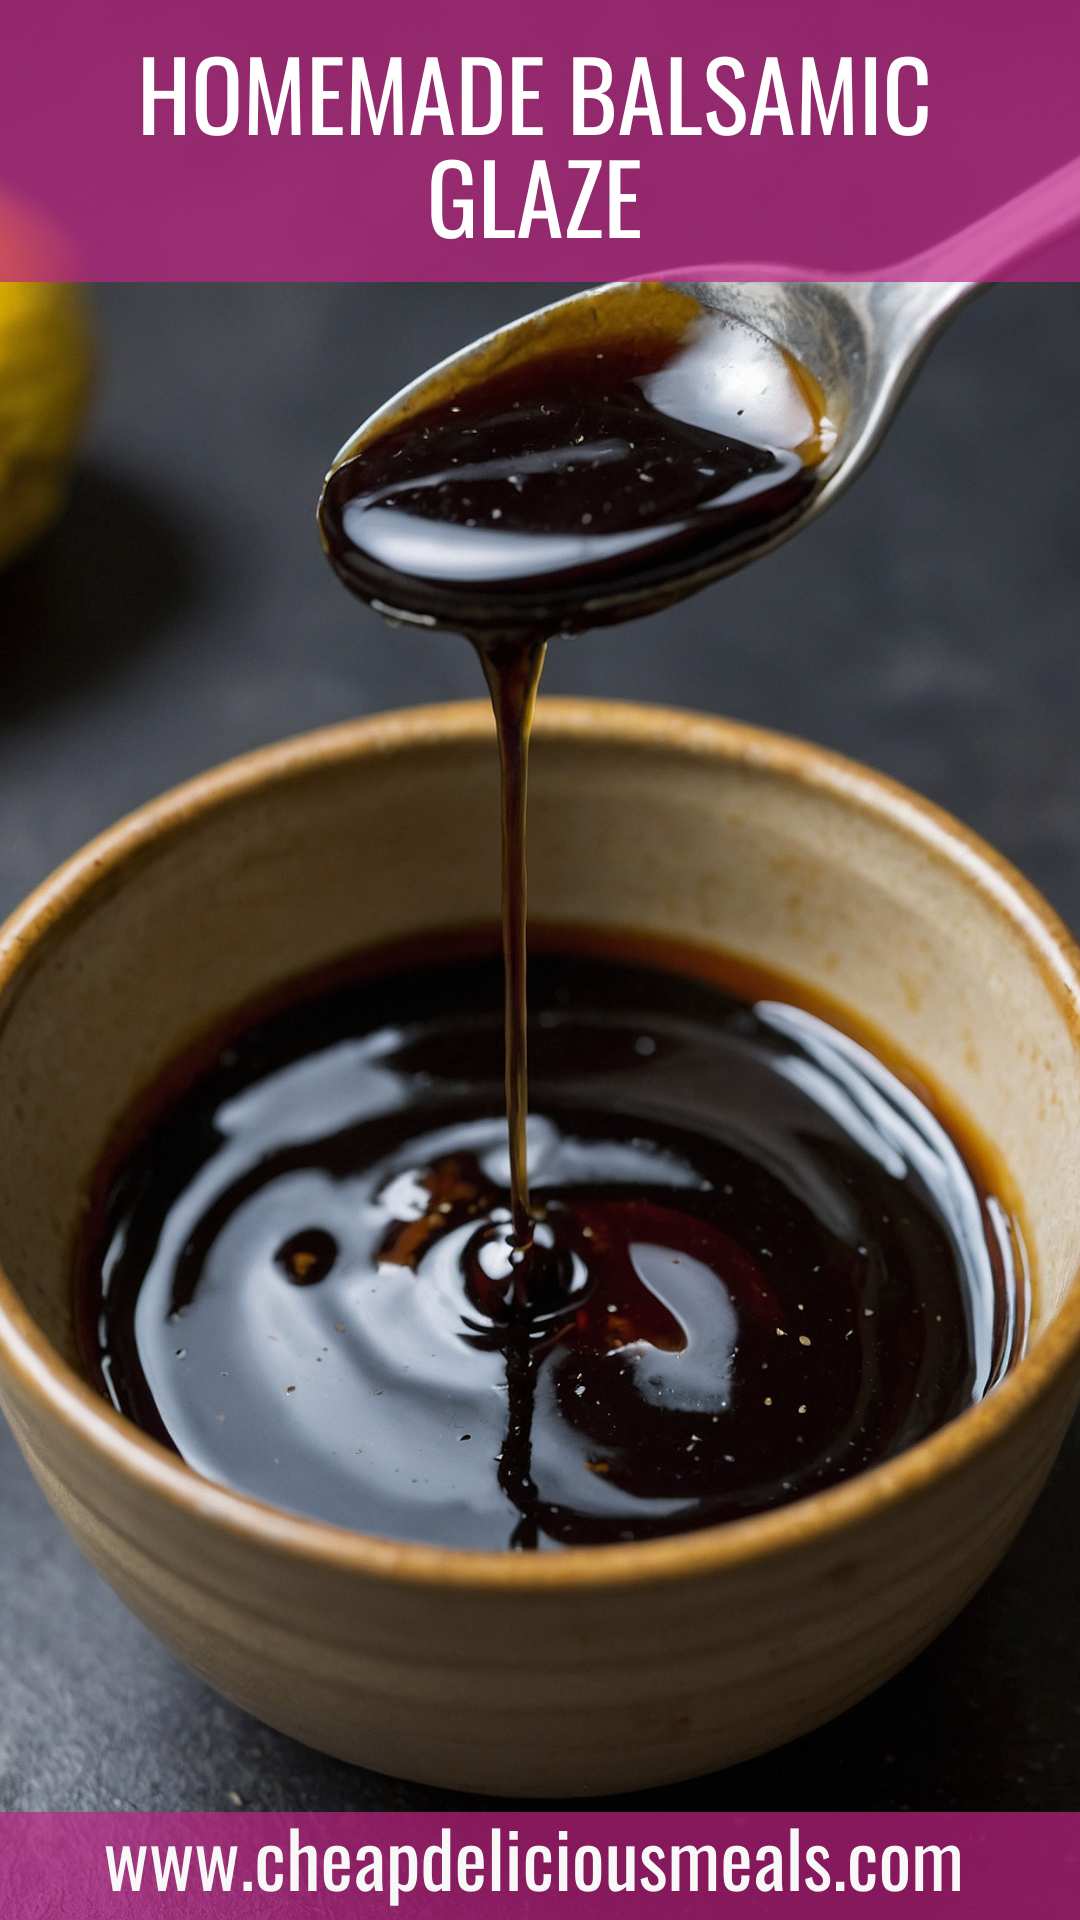
- In a nutshell, making homemade balsamic glaze involves simmering balsamic vinegar, sugar, and honey until you reach that perfect glaze consistency. Now, let’s break it down into steps.
Step 1: Gather Your Ingredients
- Start by rounding up everything you need. This makes the process smoother and ensures you won’t be scrambling mid-recipe. You’ll want a sturdy saucepan and a whisk handy.
Step 2: Combine Ingredients
- In the saucepan, combine the aged balsamic vinegar and brown sugar. Stir gently to ensure the sugar begins to dissolve.
Step 3: Heat the Mixture
- Place the saucepan over medium heat. Bring the mixture to a gentle simmer. This is where the magic begins! The aroma of the balsamic vinegar starts to fill your kitchen.
Step 4: Monitor the Simmer
- Keep an eye on the glaze as it simmers. You want it to reduce slowly. Stir occasionally to keep the sugar from settling and burning. You’re looking for a thick, syrupy consistency. This usually takes about 10-15 minutes.
Step 5: Add Honey and Salt
- Once the glaze has thickened, remove it from the heat. Stir in the honey and a pinch of sea salt. This small addition can elevate the taste to another level.
Step 6: Cool and Store
- Let your glaze cool in the pan before transferring it to a glass jar. This will continue to thicken as it cools down. Make sure it’s completely cooled before securing a lid.
Notes
Here are a few tips to perfect your homemade balsamic glaze:
- Adjust Sweetness: Experiment with the amount of sugar or honey. You can adjust according to your taste preferences.
- Watch the Heat: Never let the glaze boil vigorously; a gentle simmer is crucial to prevent burning.
- Use Quality Ingredients: The flavor of your glaze depends heavily on the quality of your balsamic vinegar. Invest in a good one.
- Cool Completely: Balsamic glaze thickens significantly upon cooling, so don’t be alarmed if it looks thin when hot.
- Reuse the Jar: Save an empty glass jar for storage. It’s eco-friendly and keeps your glaze fresh.