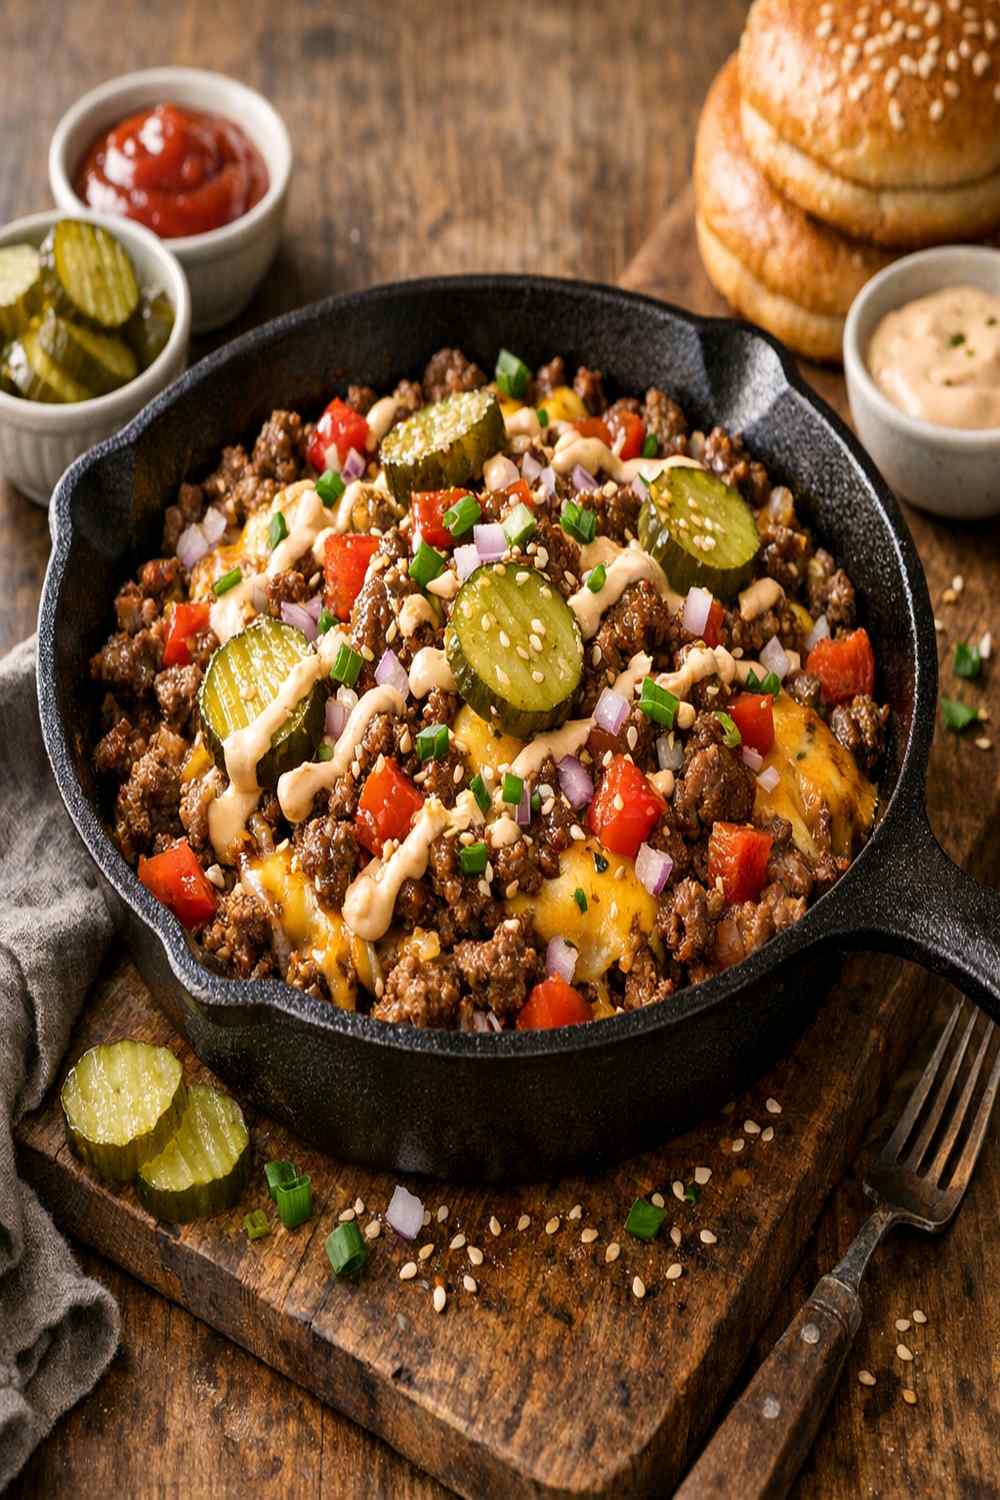

Ingredients
Method
Step 1: Prepare Your Meat with Intention
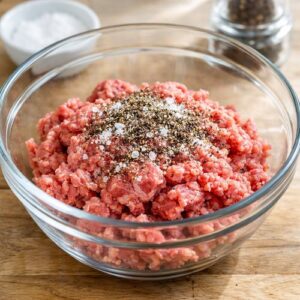
- Place your pound of ground chuck into a medium mixing bowl. This is where patience starts. Sprinkle the salt and pepper over the meat. Here's what most people do wrong—they overwork it. When you overwork ground beef, you're breaking down the muscle fibers and creating a dense, tough patty that tastes like a hockey puck. Instead, use your hands or a fork to gently combine the seasonings with the meat until just barely mixed. You should still see some texture variation. The seasoning doesn't need to be perfectly uniform—that gentle mixing is actually protecting your burger's future texture. This step takes maybe 30 seconds. That's it.
Step 2: Divide and Form Your Patties
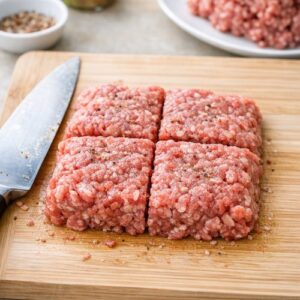
- Divide your seasoned meat into four equal portions. The easiest way is to gently press the meat into a rough square, then cut it into four equal squares with a knife. This prevents the squishing that comes from trying to roll meat into balls. Take one portion and place it on a clean plate or cutting board. Now comes the part that separates okay burgers from really good ones. Gently press the meat into a patty about 1 inch thick, but leave those edges a little craggy and uneven. Don't try to smooth it out. Those irregular edges are going to create texture when you cook it. The meat should look rustic, almost a little rough. This is not a mistake. This is on purpose. Repeat this process with your remaining three portions.
Step 3: Make the Secret Dimple
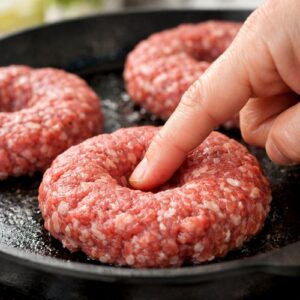
- Here's the technique that changed everything for me. With your thumb or a finger, press a small indentation into the center of each patty, about ¼ to ½ inch from the edge, running around the circumference. You're creating a shallow moat around the burger. Why? Because when the meat cooks, it naturally wants to contract and puff up in the center. This dimple accounts for that. It's like giving the burger permission to relax and stay flat and even. The edges should be just slightly higher than the center indentation. This is the difference between a burger that stays tender and juicy and one that becomes thick and dense.
Step 4: Heat Your Skillet Properly
- This is where technique matters. Place a large skillet over medium-high heat. Don't add oil or butter. I know that feels wrong if you're used to greasing pans, but trust me on this. Beef at 80-85% lean has enough fat content to cook in its own rendered fat. Adding extra oil actually interferes with the searing process. Let your skillet get genuinely hot. This typically takes about 3-4 minutes depending on your stove. You'll know it's ready when you hold your hand about 6 inches above the surface and can only hold it there for about 2-3 seconds before it feels too hot. This is the temperature that creates that beautiful crust.
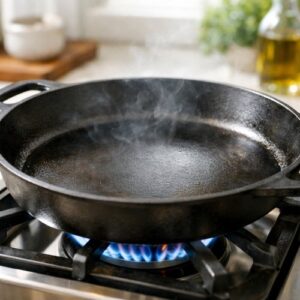
Step 5: Sear Your Burgers with Confidence
- Carefully place your four patties in the hot skillet. Leave some space between each one—they shouldn't touch. If they're crowded, the steam that releases will prevent proper browning. Now here's the hardest part: let them cook without moving them. Don't poke them. Don't press them down. Don't flip them early. Cook them until they've nicely browned halfway up the sides and you see a golden crust forming. This typically takes about 3-4 minutes for the first side. You'll know it's time to flip when the meat releases easily from the pan—it literally tells you when it's ready by unsticking itself. The meat should have a beautiful caramelized crust. This isn't burnt. This is the Maillard reaction—the chemical process that creates deep, savory flavor. This is why your burger tastes better than one made at lower heat.
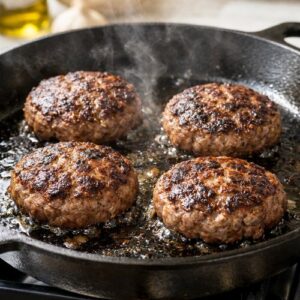
Step 6: Flip and Cook to Your Preferred Doneness
- Flip your burgers carefully using a spatula. Cook the second side until you reach your desired doneness. For medium, that's about another 3-4 minutes. For food safety, the USDA recommends cooking burgers to an internal temperature of 160°F. If you have a meat thermometer, this takes the guesswork out. If not, you can cut into the thickest burger and check that there's no pink inside. Don't press down on your burgers while they cook. That's pressing out all the flavorful juices you've worked to develop.
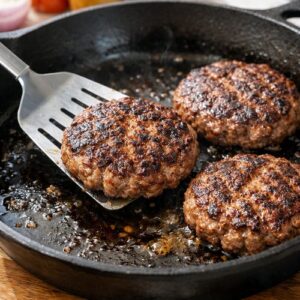
Step 7: Add Cheese and Let the Residual Heat Do the Work
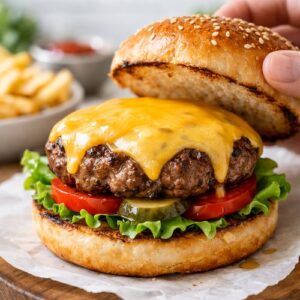
- If you're adding cheese—and honestly, why wouldn't you—now's the time. When the burgers reach your desired temperature, remove the skillet from heat. Place one slice of cheese on top of each burger, then cover the skillet with a lid or even a baking sheet. Let it sit covered for about 1-2 minutes. The residual heat and trapped steam will melt that cheese perfectly. This is so much better than trying to melt cheese over direct heat, which can scorch it. You want creamy, melted cheese—not brown and crispy cheese.
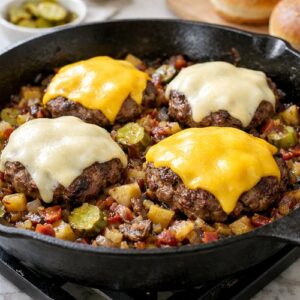
Step 8: Assemble and Serve Your Masterpiece
- Toast your buns if you want them a little crispy on the inside (optional, but it does prevent soggy buns). Place your cheese-topped burgers on the buns. Now add your toppings in the order that makes sense to you—lettuce first creates a barrier against moisture, then tomato, then onion, then pickles, then your condiments of choice. The whole process from start to finish takes about 20 minutes. That's faster than most takeout places, and you know exactly what's in your food.
Notes
- Overworking the meat—This creates dense, tough burgers. Remember: gentle mixing, 30 seconds maximum. The meat should look like it barely knows it's been seasoned.
- Skipping the dimple—Burgers without the center indentation will puff up and become thick and uneven. That dimple is your insurance policy for even cooking and texture.
- Cooking at too low heat—You won't develop that beautiful crust. Medium-high heat is non-negotiable. Your skillet should be genuinely hot. If you're nervous, you're probably not hot enough.
- Pressing down on the burgers—Every time you press, you squeeze out the flavorful juices and rendered fat. Let them cook undisturbed. They'll tell you when they're ready to flip by unsticking themselves.