Ingredients
Method
Step 1: Prepare the Apples
- Start off by peeling, coring, and thinly slicing your apples. If you have a handy gadget like a Johnny apple peeler, it’ll save you some time and effort. Aim for slices that are about 1/4 inch thick to ensure they cook evenly. Once sliced, toss the apples with a teaspoon of lemon juice to enhance their flavor and prevent browning.
Step 2: Make the Apple Pie Filling
- In a large bowl, whisk together the ground cinnamon, nutmeg, cloves, allspice, salt, and ¾ cup of sugar. This fragrant mixture will form the base of your pie filling. Next, melt the butter in a large skillet over medium heat. Once it's melted, add the sliced apples, followed by the freshly squeezed lemon juice from Step 1. Sprinkle the previously prepared sugar and spice mixture over the apples and gently stir to coat. Let it simmer for about 3-5 minutes, just until the apples soften slightly.
Step 3: Incorporate the Thickening Agents
- After the apples have cooked a bit, sprinkle the all-purpose flour and cornstarch over them. Toss everything together until the apples are well-coated. This step is crucial as these ingredients will help absorb some of the juices and keep your pie filling from getting too soupy. Remove the skillet from the heat and let the mixture cool to room temperature. If you're in a hurry, spread it on a baking sheet to cool faster.
Step 4: Preheat the Oven
- While your filling cools, it’s time to preheat the oven. Place a large baking sheet on the middle rack of your oven and set the temperature to 425°F. Cooking the pie on a hot baking sheet helps the bottom crust stay crispy, which is essential for a great apple pie.
Step 5: Roll Out the Pie Crusts
- Remove one portion of your homemade pie dough from the refrigerator. Roll it out until it’s about 12 inches in diameter. Carefully place this rolled dough into a 9-inch pie plate, allowing some excess to hang over the edges. Pop this into the refrigerator while you work on rolling out your second pie crust.
Step 6: Assemble the Pie
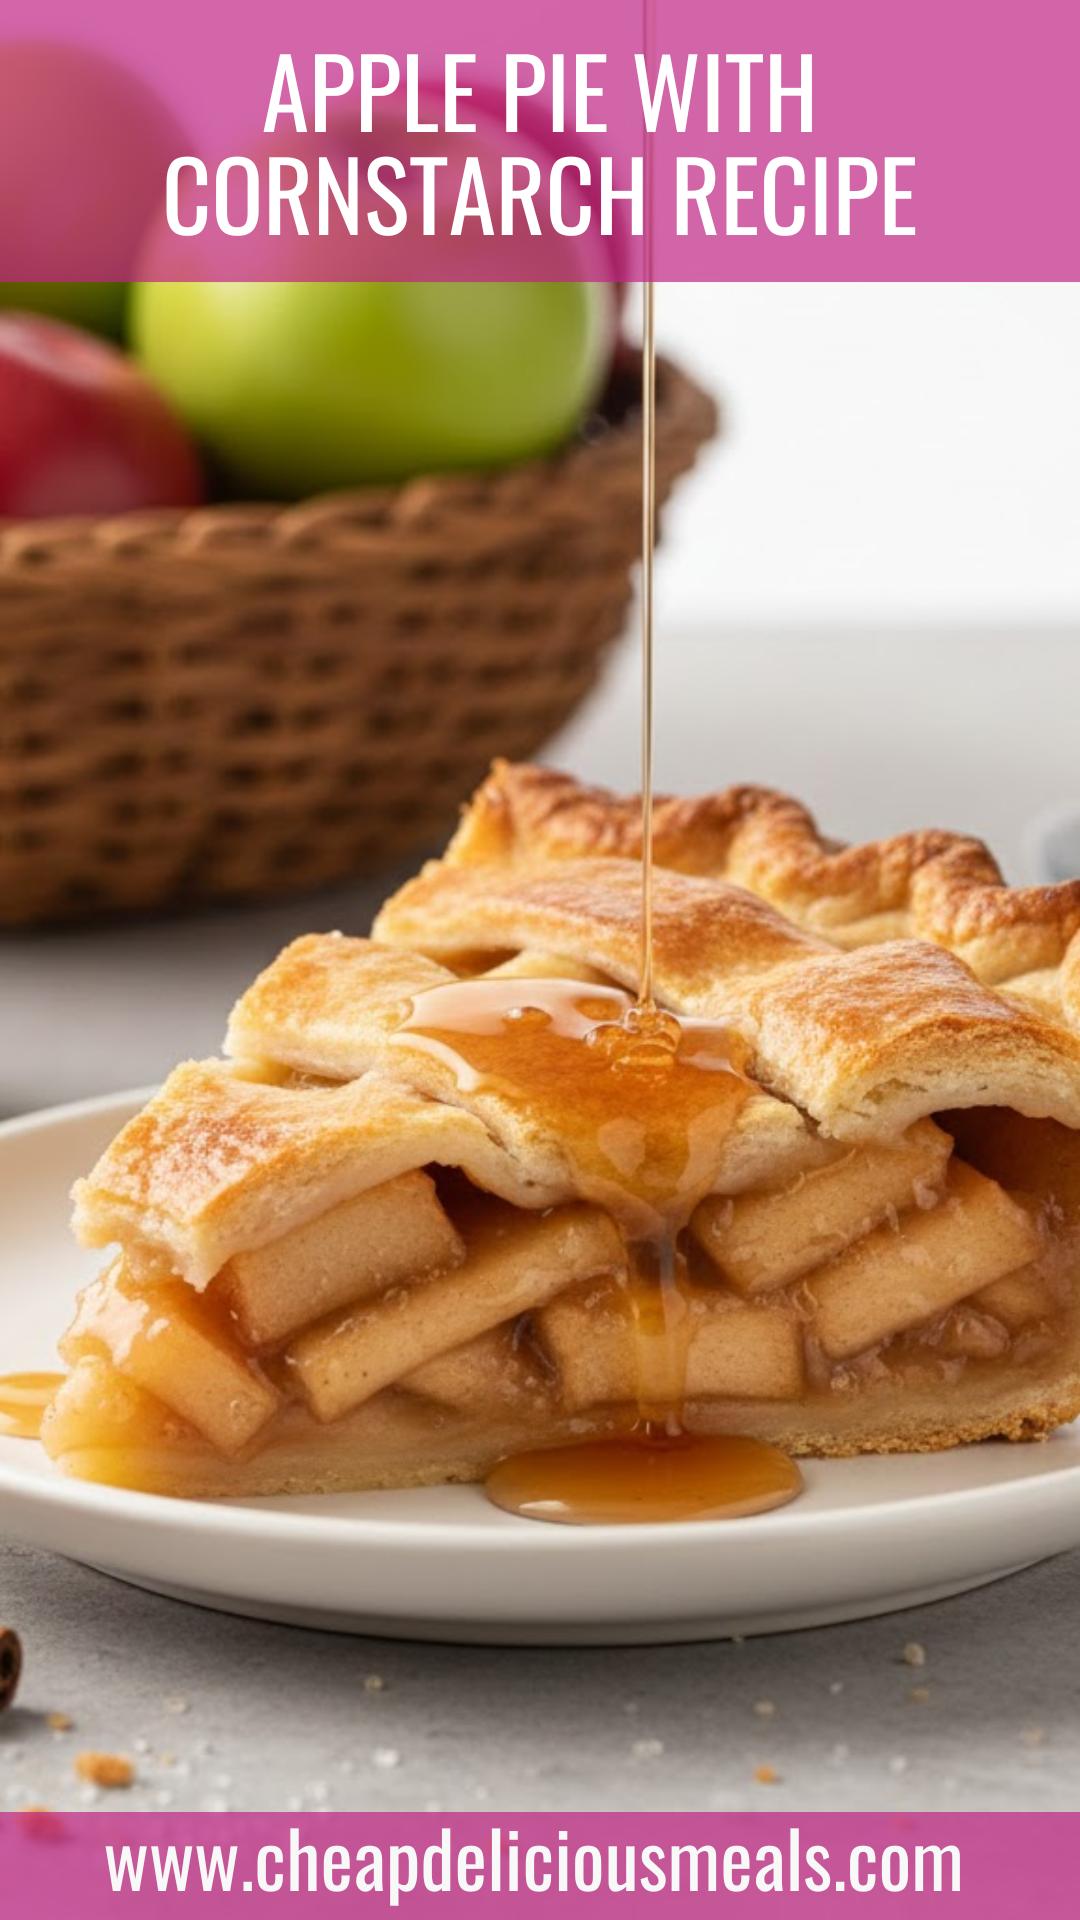
- Take the pie plate out of the fridge, and gently pour your cooled apple filling into the crust. If you want a classic look, roll out the second piece of dough and place it over the filling. Cut a few slits in the top crust for steam to escape, or go the fancy route with a lattice design. Crimp the edges with your fingers to seal everything in.
Step 7: Brush with Egg Wash
- In a small bowl, mix the beaten egg with the tablespoon of milk. This will serve as your egg wash, giving the pie a beautiful golden finish when baked. Lightly brush this mixture over the top crust and sprinkle the remaining tablespoon of sugar for an extra touch of sweetness.
Step 8: Bake to Perfection
- Carefully place your assembled pie on the baking sheet in the preheated oven. Bake at 425°F for the first 20 minutes. After that, reduce the temperature to 375°F and continue baking for another 30 to 40 minutes. You’ll want the filling bubbling and the crust golden brown. Keep an eye on it: if the crust starts to darken too much, simply cover the top with a piece of aluminum foil.
Step 9: Cool and Serve
- Once baked, remove the pie from the oven and let it cool completely on a wire rack for at least 2-3 hours. This cooling time is essential; it allows the filling to set. Trust me—waiting will pay off when you slice into that pie, and it holds its shape beautifully!
Notes
- Choose your apples wisely: A mix of sweet and tart varieties like Granny Smith and Honeycrisp offers the best flavor.
- Chill your pie crust: Keeping your dough cold before baking will help achieve a flaky texture.
- Don’t skip the cooling step: Patience here prevents a messy, runny slice.
- Experiment with spices: Feel free to add or adjust spices to suit your taste!
- Use high-quality butter: It really enhances the flavor of the crust and filling.