This post contains affiliate links. As an Amazon Associate I earn from qualifying purchases.
I still remember my grandmother pulling a bubbly casserole dish from her oven on Sunday afternoons, the smell of melted cheese filling our entire kitchen. She made it stretch—using whatever cheese scraps she had, adding pantry staples, turning nothing into something magical. That recipe taught me that comfort food doesn’t require fancy ingredients or hours in the kitchen. Today, I’m sharing my version: a creamy baked mac and cheese that’s ready in 45 minutes and costs less than $15 to make. It’s the kind of dish that brings families together, feeds six people easily, and proves that healthy eating never means sacrificing flavor or your budget. Whether you’re meal prepping for the week or feeding hungry kids on a Tuesday night, this one-pan wonder will become your go-to recipe. I’ve paired it with other budget-friendly favorites like Basic Stir Fry Recipe Beef for complete weeknight solutions.
Easy Baked Mac and Cheese Recipe (Ready in 45 Minutes, Creamy & Golden!)
This recipe is the only one you’ll ever need. I’ve made it hundreds of times—in my clinical nutrition practice, at home with my own family, and for countless clients looking to eat better without spending more. It’s foolproof, forgiving, and absolutely delicious every single time.
Why You’ll Love This Recipe
- Ready in 45 minutes flat – prep takes 15 minutes, baking takes 30 minutes with zero babysitting required
- Five simple pantry ingredients – pasta, butter, milk, cheese, and breadcrumbs create pure magic without specialty items
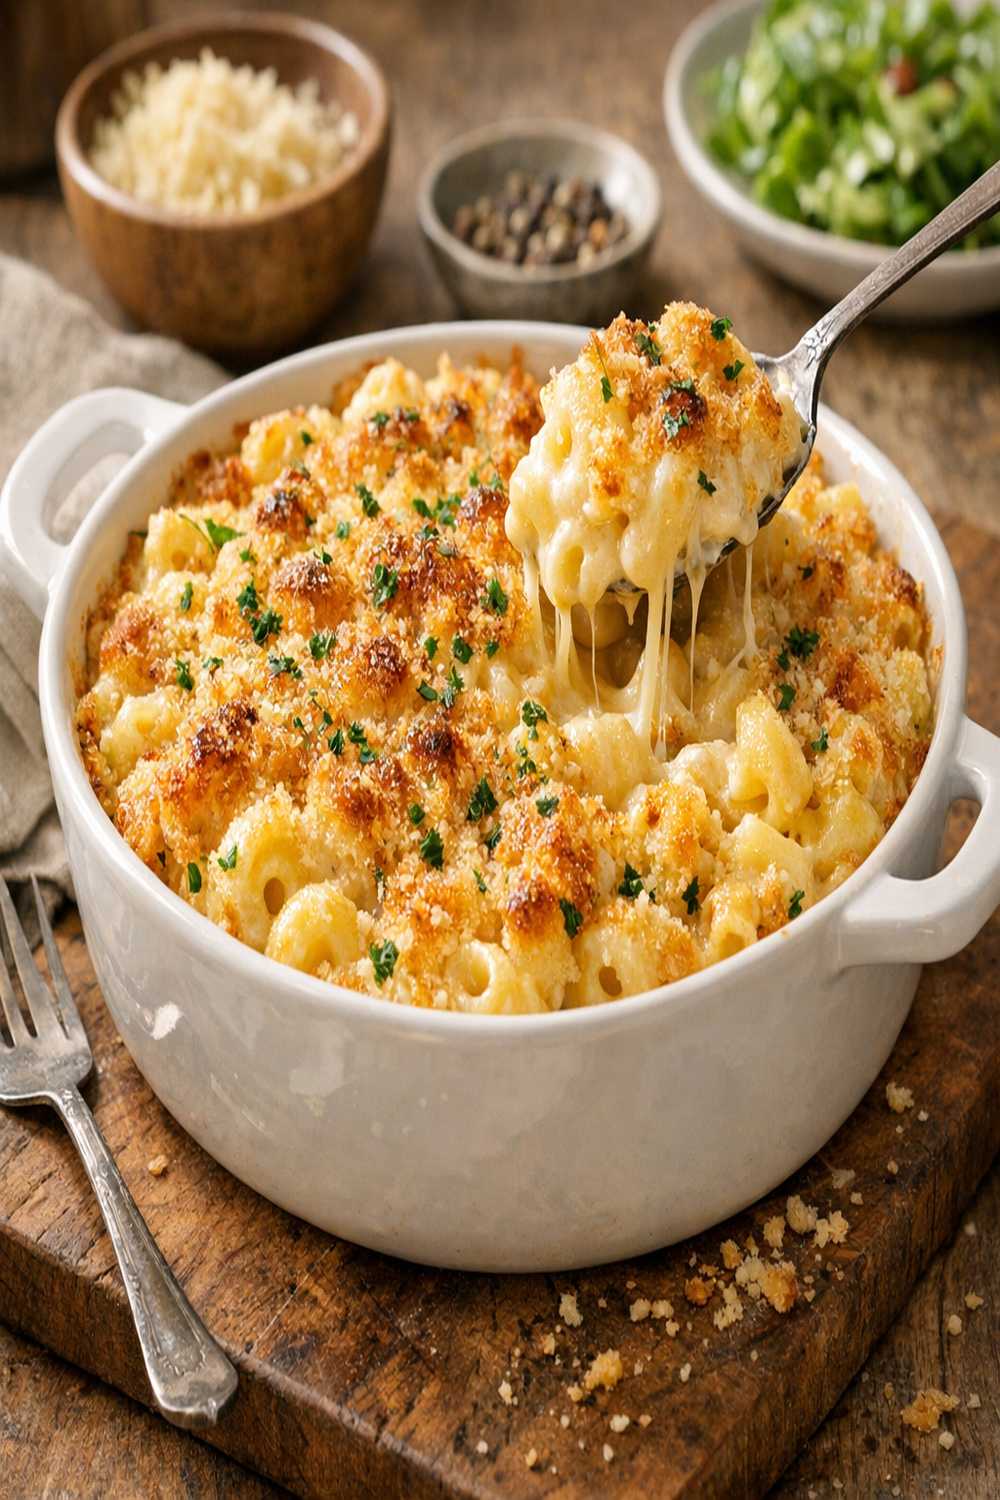
- Creamy, golden-brown perfection – a crispy-topped exterior hiding a silky, melted interior that tastes restaurant-quality
- Feeds six people for under $15 – one of the most affordable ways to serve a family dinner that everyone actually wants to eat
- Make-ahead and freezer-friendly – assemble the night before or freeze fully baked portions for future weeknight saves
What You Need
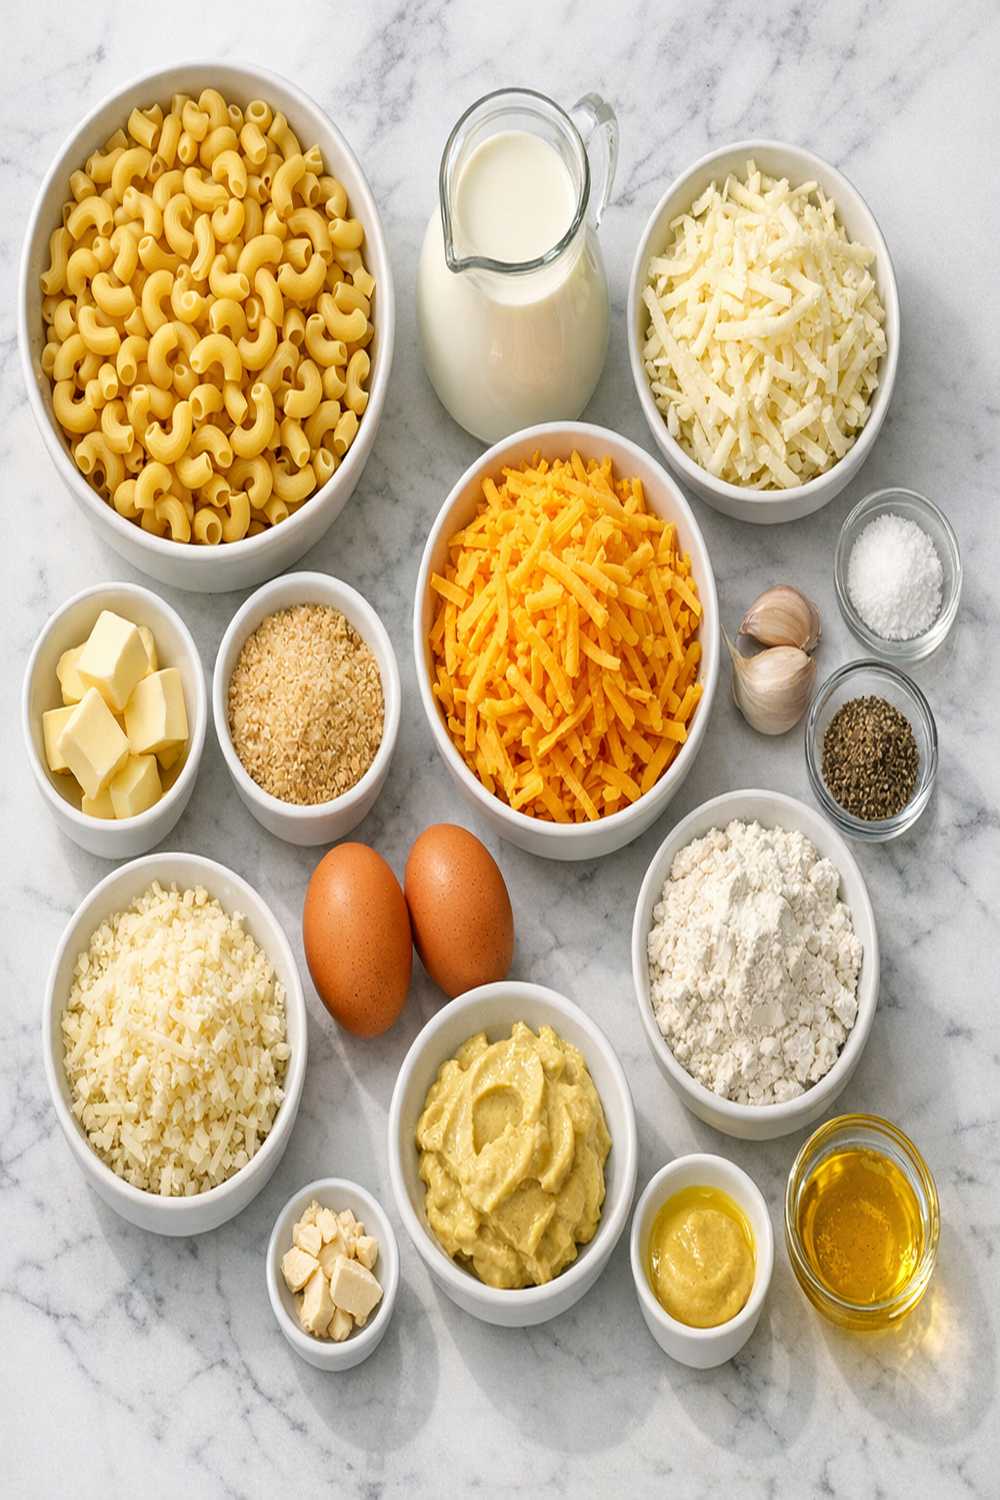
Just nine simple ingredients, most of which you probably have right now:
- 1 pound elbow macaroni (or any tubular pasta holds sauce better than flat noodles)
- 6 tablespoons unsalted butter (divided between sauce and topping)
- ¼ cup all-purpose flour (creates a smooth, lump-free cheese sauce)
- 3 cups whole milk (full-fat creates the creamiest texture)
- 1 cup heavy whipping cream (substitute half-and-half to save money)
- 4 cups sharp cheddar cheese, shredded (use a box grater, not pre-shredded when possible)
- 2 cups Gruyère cheese, shredded (or substitute extra sharp cheddar if budget-conscious)
- 1 tablespoon extra virgin olive oil (prevents pasta from sticking while cooling)
- 1½ cups panko breadcrumbs mixed with 4 tablespoons melted butter, ½ cup Parmesan cheese, and ¼ teaspoon smoked paprika (the golden-brown topping everyone loves)
- Salt and black pepper to taste
How to Make Baked Mac and Cheese Recipe in 8 Steps
Here’s exactly how to create restaurant-quality mac and cheese in your own kitchen:
Step 1: Prepare Your Baking Dish and Preheat
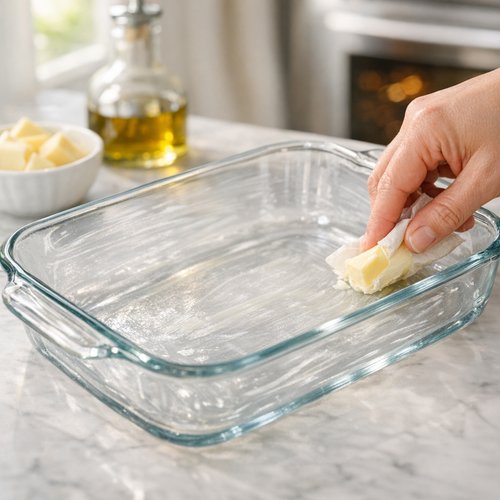
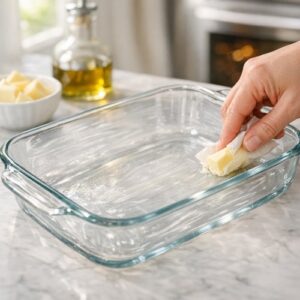
Heat your oven to 350°F and lightly grease a 3-quart or 4-quart baking dish with butter or cooking spray. This prevents sticking and makes cleanup easier. Set it aside while you work through the remaining steps. Pro tip: a glass dish conducts heat more evenly than ceramic, so you’ll get more consistent browning on the sides.
Step 2: Cook Your Pasta Perfectly
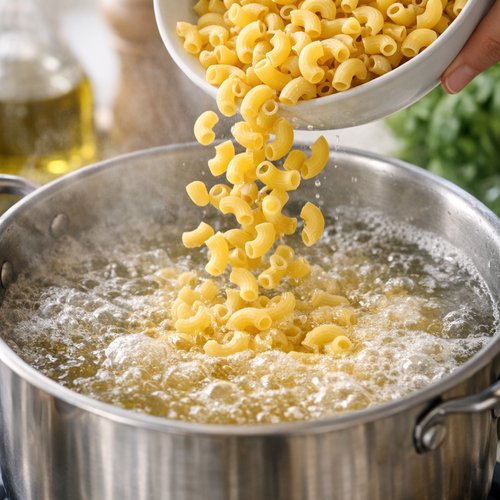
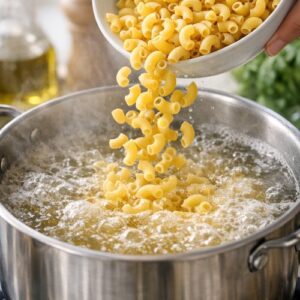
Bring a large pot of salted water to a rolling boil, then add your pasta. Cook it according to the package directions, but drain it one full minute before the package says it’s done. This matters tremendously because the pasta will continue cooking in the oven. You want it tender but still slightly firm in the center—what Italians call “al dente.” Drain well in a colander, but don’t rinse it.
Step 3: Coat the Pasta with Oil
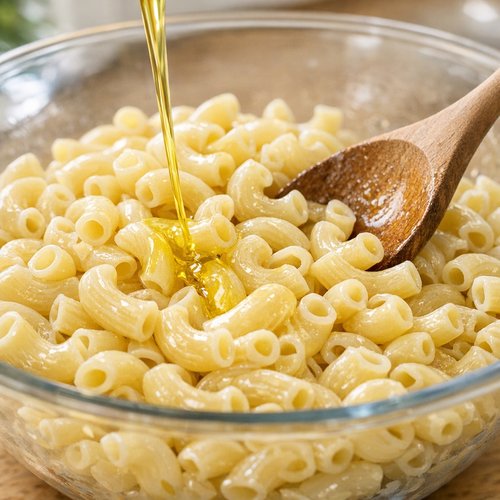
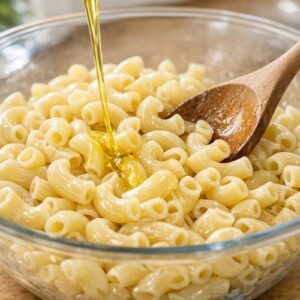
Transfer your warm pasta to a large mixing bowl and drizzle it with the tablespoon of olive oil, then stir gently until every piece is coated. This prevents the pasta from clumping together while you prepare the cheese sauce. Let it cool while you move to the next step. The cooling also ensures the hot pasta won’t break down your cheese sauce when they combine.
Step 4: Create Your Roux Base
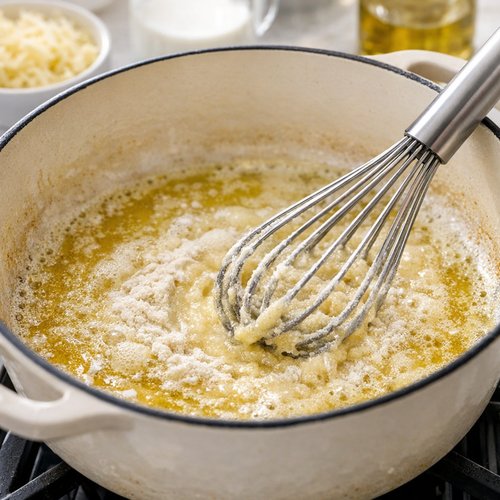
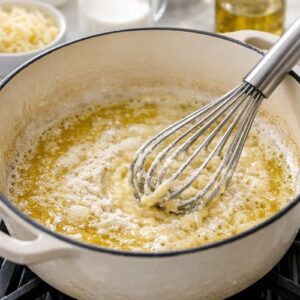
Melt 6 tablespoons of butter in a large saucepan or Dutch oven over medium heat. Once it’s foaming and golden (this takes about 2 minutes), whisk in your ¼ cup flour continuously for about 60 seconds until the mixture becomes bubbly and light golden. This roux is your thickening agent—it’s the secret to a sauce that coats pasta instead of running off it.
Step 5: Build Your Cheese Sauce
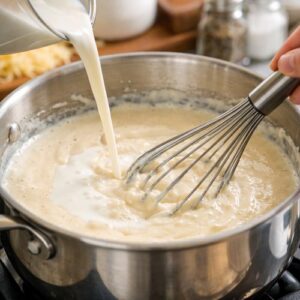
Gradually whisk in your 3 cups of whole milk and 1 cup of heavy cream, stirring constantly to prevent lumps from forming. Keep whisking for about 3-4 minutes until you see small bubbles breaking on the surface and the sauce thickens enough to coat the back of a spoon. Season with salt and pepper to taste. I typically use ¾ teaspoon salt and ½ teaspoon black pepper, but taste as you go.
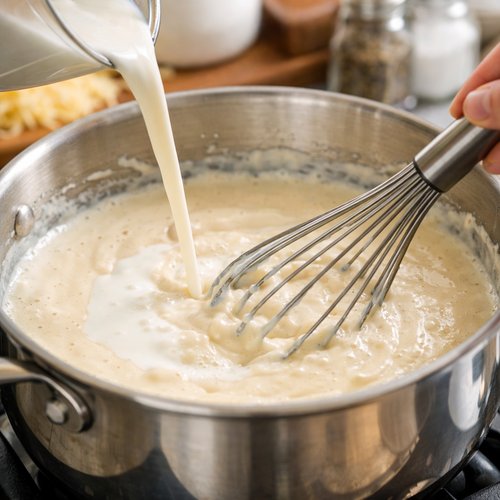
Step 6: Add Your Cheeses
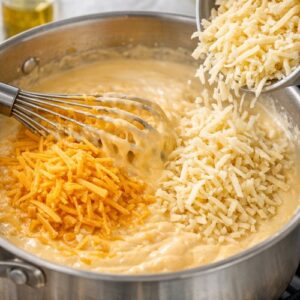
Remove the pan from heat and add 2 cups of your shredded cheddar cheese, whisking until completely smooth. Then add your 2 cups of Gruyère cheese and whisk until creamy and lump-free. Finally, add the remaining 2 cups of sharp cheddar and whisk one final time. The sauce should be thick, glossy, and coat a spoon heavily. This three-step cheese addition prevents clumping and ensures even distribution.
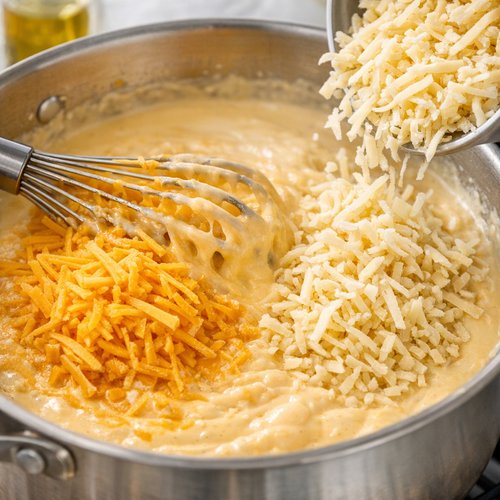
Step 7: Combine Pasta and Sauce
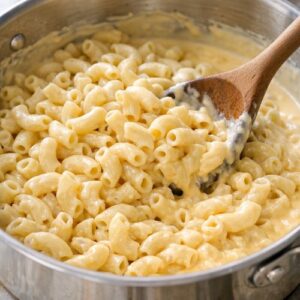
Pour the cooled pasta into your cheese sauce and stir gently but thoroughly until every piece is coated. This is easier than I’m about to describe, but I want you to understand what happens: spread half of this mixture into your prepared baking dish, then sprinkle the remaining 2 cups of shredded cheddar cheese over the top, then layer in the remaining pasta mixture. This creates pockets of extra-cheesy goodness throughout.
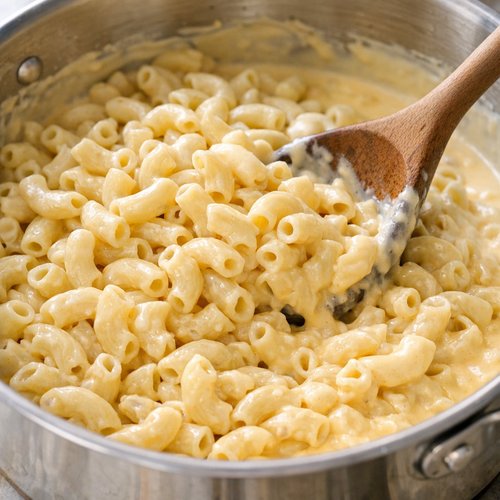
Step 8: Add Your Topping and Bake
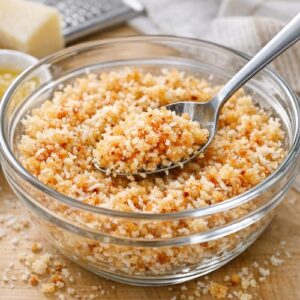
Combine your 1½ cups panko breadcrumbs with 4 tablespoons melted butter, ½ cup Parmesan cheese, and ¼ teaspoon smoked paprika in a small bowl, stirring until the breadcrumbs are evenly moistened. Sprinkle this mixture generously over the top of your mac and cheese. Bake for exactly 30 minutes until the top is golden brown and the filling bubbles around the edges. Let it rest for 5 minutes before serving—this helps it set and makes scooping cleaner.
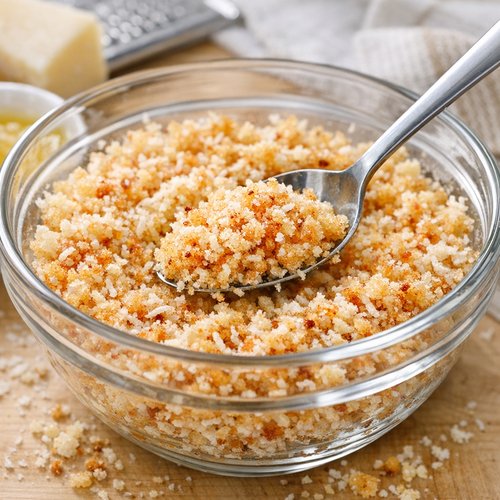
Expert’s Nutritional Tip
As a registered dietitian, I often see people eliminate cheese entirely to “eat healthy.” That’s a mistake. This recipe provides approximately 350 calories and 18 grams of protein per serving, plus significant calcium from four different dairy sources. The sharp cheddar and Gruyère contribute conjugated linoleic acid (CLA), a compound researched for its anti-inflammatory properties. The key is portion control and balance—this serves six people generously, making it a complete dinner when paired with vegetables. Serve alongside a simple green salad or steamed broccoli to add fiber and nutrients without adding cost.
5 Ways to Customize This Recipe
- Add vegetables for nutrition – fold in 1½ cups steamed broccoli florets, diced roasted red peppers, or sautéed mushrooms before baking to add fiber and nutrients without changing the flavor
- Make it spicier – increase the smoked paprika to ½ teaspoon or add ¼ teaspoon cayenne pepper to the breadcrumb topping for a gentle heat that builds with each bite
- Create a meat-lover’s version – stir in 1 cup crumbled crispy bacon or diced ham before adding the pasta to the baking dish for a complete protein boost
- Go lighter with cream – replace the heavy whipping cream with an equal amount of half-and-half or whole milk to reduce fat and calories while keeping creaminess intact
- Switch your cheese profile – substitute Fontina or Smoked Gouda for the Gruyère, or use all sharp cheddar if Gruyère isn’t available, adjusting flavor to your preference
Make It Ahead and Meal Prep Tips
- Assemble the night before – prepare the entire casserole through Step 7, cover tightly with plastic wrap, and refrigerate overnight, then bake the next day adding 5-10 minutes to the bake time since it’ll be cold starting
- Freeze fully baked portions – cool the entire casserole completely, cut into individual portions, wrap each piece in foil, and freeze for up to three months; reheat in a 325°F oven for 25-30 minutes until warmed through
- Make your sauce ahead – prepare the cheese sauce up to two days in advance, store in an airtight container in the refrigerator, then warm gently before combining with pasta and baking
- Batch the breadcrumb topping – combine your panko, butter, Parmesan, and paprika mixture in a jar and store at room temperature for up to two weeks, making assembly on baking day faster
Common Mistakes to Avoid
Overcooking your pasta initially – this is the most common error I see. Pasta continues cooking in the oven, so starting with fully cooked pasta results in a mushy final dish. Drain it one minute early and you’ll thank yourself.
Using pre-shredded cheese with anti-caking agents – these additives prevent the cheese from melting smoothly and create a grainy sauce. Buy a block of cheese and grate it yourself. Yes, it takes five minutes. It’s worth it.
Skipping the oil-coating step – this seems unnecessary but prevents pasta strands from sticking together while your sauce cools, ensuring even distribution when you combine them.
Baking at too high a temperature – 350°F is the sweet spot. Higher temperatures brown the topping but can cause the sauce to separate or become grainy. Patience creates better results.
Seasonal Variations
Spring version – stir in fresh spring peas and chopped asparagus for color and seasonal freshness; add fresh thyme to your roux base for herbal notes.
Summer version – incorporate roasted zucchini and sun-dried tomatoes; add a pinch of fresh basil mixed into your breadcrumb topping before baking.
Fall version – fold in crispy sage leaves and roasted butternut squash for earthiness; substitute smoked paprika with sweet paprika for different warmth.
Winter version – add crispy bacon, roasted root vegetables, and increase the Gruyère ratio for deeper, richer flavors that satisfy cold-weather cravings.
Quick Substitutions
- Heavy whipping cream -> half-and-half, whole milk, or even evaporated milk (use same amount) if you don’t have it or want to save money
- Sharp cheddar -> extra sharp cheddar, aged gouda, or even American cheese if that’s what’s in your budget
- Gruyère -> Emmental, Fontina, or additional sharp cheddar without changing the recipe meaningfully
- Panko breadcrumbs -> crushed saltine crackers, crushed cornflakes, or even finely grated day-old bread mixed with melted butter
- Smoked paprika -> regular paprika, garlic powder, or even cayenne for heat without sacrificing the finishing touch
How to Store and Reheat
Fridge: 4 days in an airtight container. Freezer: up to 3 months when wrapped tightly in foil. Reheat in a 325°F oven for 20-25 minutes until warmed through, or microwave individual portions at 50% power for 3-4 minutes to prevent the edges from getting too hot while the center stays cold. The microwave method isn’t glamorous, but it works when you’re in a hurry on a Wednesday night.
Nutrition at a Glance
Per serving (based on 6 servings): 580 calories, 18g protein, 38g fat, 42g carbohydrates, 2g fiber, 1,200mg sodium. This recipe provides approximately 45% of your daily calcium needs, making it particularly valuable for bone health. According to USDA data, the combination of milk, cream, and three cheeses creates a complete amino acid profile. While sodium is higher than some might prefer, the recipe balances indulgence with actual nutrition—something too many “healthy” mac and cheese recipes fail to deliver.
Serve It With
This recipe shines on its own but pairs beautifully with simple sides that add vegetables without complication. Serve alongside a crisp green salad dressed with simple vinaigrette, steamed broccoli with lemon juice, or roasted Brussels sprouts. For a more complete dinner, pair with lean proteins like my oven-baked chicken or Best Meatballs Ever Recipe for a satisfying family meal.
- Roasted broccoli with garlic – adds green vegetables and fiber to balance the richness
- Mixed green salad with vinaigrette – cuts through the creaminess with fresh acidity
- Steamed green beans with lemon – light, simple, and complements without overwhelming
- Roasted root vegetables – adds earthiness and seasonal variety depending on what’s affordable

Baked Mac Cheese Recipe
Ingredients
Method
- Heat your oven to 350°F and lightly grease a 3-quart or 4-quart baking dish with butter or cooking spray. This prevents sticking and makes cleanup easier. Set it aside while you work through the remaining steps. Pro tip: a glass dish conducts heat more evenly than ceramic, so you'll get more consistent browning on the sides.
- Bring a large pot of salted water to a rolling boil, then add your pasta. Cook it according to the package directions, but drain it one full minute before the package says it's done. This matters tremendously because the pasta will continue cooking in the oven. You want it tender but still slightly firm in the center—what Italians call "al dente." Drain well in a colander, but don't rinse it.
- Transfer your warm pasta to a large mixing bowl and drizzle it with the tablespoon of olive oil, then stir gently until every piece is coated. This prevents the pasta from clumping together while you prepare the cheese sauce. Let it cool while you move to the next step. The cooling also ensures the hot pasta won't break down your cheese sauce when they combine.
- Melt 6 tablespoons of butter in a large saucepan or Dutch oven over medium heat. Once it's foaming and golden (this takes about 2 minutes), whisk in your ¼ cup flour continuously for about 60 seconds until the mixture becomes bubbly and light golden. This roux is your thickening agent—it's the secret to a sauce that coats pasta instead of running off it.
- Gradually whisk in your 3 cups of whole milk and 1 cup of heavy cream, stirring constantly to prevent lumps from forming. Keep whisking for about 3-4 minutes until you see small bubbles breaking on the surface and the sauce thickens enough to coat the back of a spoon. Season with salt and pepper to taste. I typically use ¾ teaspoon salt and ½ teaspoon black pepper, but taste as you go.
- Remove the pan from heat and add 2 cups of your shredded cheddar cheese, whisking until completely smooth. Then add your 2 cups of Gruyère cheese and whisk until creamy and lump-free. Finally, add the remaining 2 cups of sharp cheddar and whisk one final time. The sauce should be thick, glossy, and coat a spoon heavily. This three-step cheese addition prevents clumping and ensures even distribution.
- Pour the cooled pasta into your cheese sauce and stir gently but thoroughly until every piece is coated. This is easier than I'm about to describe, but I want you to understand what happens: spread half of this mixture into your prepared baking dish, then sprinkle the remaining 2 cups of shredded cheddar cheese over the top, then layer in the remaining pasta mixture. This creates pockets of extra-cheesy goodness throughout.
- Combine your 1½ cups panko breadcrumbs with 4 tablespoons melted butter, ½ cup Parmesan cheese, and ¼ teaspoon smoked paprika in a small bowl, stirring until the breadcrumbs are evenly moistened. Sprinkle this mixture generously over the top of your mac and cheese. Bake for exactly 30 minutes until the top is golden brown and the filling bubbles around the edges. Let it rest for 5 minutes before serving—this helps it set and makes scooping cleaner.
Notes
FAQs
Can I make this recipe with a different pasta shape?
Absolutely. While elbow macaroni is traditional, any tubular pasta works beautifully—penne, rigatoni, or ziti all hold sauce well. Avoid long pasta like spaghetti because sauce slides right off. Shell pasta works too but some sauce pools inside the shells.
What if my cheese sauce is lumpy?
This typically happens from adding cold cheese to hot sauce or cooking the sauce too long after adding cheese. If lumps form, strain the sauce through a fine-mesh sieve into a clean pot and gently warm it again. Lumps won’t disappear completely but they’ll be minimal.
Can I use skim milk or non-dairy milk instead?
Skim milk works but creates a less creamy final dish. Non-dairy milks like almond or oat milk often separate from the roux, creating a grainy texture. If you must use non-dairy, choose cashew or soy milk which have better fat content, and use a slightly higher temperature and shorter cooking time.
How do I prevent the topping from burning?
If your topping browns too quickly before the filling bubbles, loosely tent the dish with aluminum foil for the first 15-20 minutes, then remove it to allow browning during the final 10-15 minutes of baking.
Can I double this recipe?
Yes, but use a 6-quart baking dish or divide between two 3-quart dishes. Increase baking time to 35-40 minutes if using one large dish. The edges may brown faster than the center, so check doneness by inserting a knife near the middle and ensuring the filling is bubbling hot.
More Quick Recipes
- Best BBQ Wings Recipe – crispy, saucy wings that pair perfectly with mac and cheese for a complete comfort meal
- Bar B Q Wings Recipe – smoky, tender wings that stretch your budget while feeding a crowd
Final Thoughts
This baked mac and cheese recipe is more than just food—it’s proof that budget-friendly cooking and nutritious eating aren’t mutually exclusive. My grandmother knew this truth when she pulled that casserole from her oven decades ago, and I’m honored to pass this version forward to you. Make this tonight. Feed your family. Watch their faces light up when they taste that creamy, golden goodness. You’ve got this. Happy Cooking!