Have you ever thought about making sour cream at home? Not only is it incredibly easy, but it also enhances so many dishes. You can pair it with baked potatoes, tacos, or even use it as a tasty dip for veggies and chips. Trust me, once you taste your homemade version, you might never want to buy the store-bought kind again.
Sour cream is a staple in many kitchens, and for good reason. It adds a creamy texture and a tangy flavor that elevates foods. And the best part? Making your own is both cost-effective and rewarding.
After years of cooking and experimenting in the kitchen, discovering how to whip up sour cream felt like a small victory. The process is simple, and the ingredients are likely already in your pantry.
Why This Recipe is Great for You
The truth is, many store-bought sour creams are filled with preservatives and additives. Making your own ensures you know exactly what goes into it. Plus, you’ll have a fresher product that you can customize to your taste.
As a registered dietitian, I value both health and flavor—and making sour cream in my own kitchen gives me the best of both worlds.

You Might Also Like These Recipes!
My Experience with the Ingredients
In this recipe, you will use just a few simple ingredients. They create a creamy texture and enhance the tanginess of your homemade sour cream.
- Heavy Cream: This is the base of your sour cream. Full-fat heavy cream gives you that luscious texture that you crave.
- Plain Yogurt: This acts as a starter. It contains beneficial bacteria that help ferment the cream, resulting in that delightful tang.
- Lemon Juice: Just a dash adds a touch of acidity that helps the cream thicken and contributes to the overall flavor profile.
- Sea Salt: A pinch of salt rounds off the flavor nicely. It’s optional, but I can assure you that it does make a difference.
Ingredients
- 1 cup heavy cream (240 ml)
- 1 tablespoon plain whole milk yogurt or Greek yogurt
- 2 teaspoons freshly squeezed lemon juice
- A pinch of sea salt (optional)
How to Make Sour Cream
The process of making sour cream is remarkably straightforward. With just a few steps, you’ll be able to create a deliciously rich and tangy condiment. Let me walk you through it.
Step 1: Gather Your Ingredients
Start by gathering all your ingredients on the counter. It’s essential to have everything ready before you start cooking. Trust me, it saves a lot of time and hassle!
Step 2: Combine the Ingredients
In a mixing bowl, combine 1 cup of heavy cream, 1 tablespoon of plain yogurt, and 2 teaspoons of freshly squeezed lemon juice. You can use a whisk for this step. Mix everything together until it’s well blended.
Step 3: Add Seasoning
If you’d like to enhance the flavor, add a pinch of sea salt at this stage. Remember, it’s totally optional. Stir to incorporate.
Step 4: Cover and Let It Sit
Cover the bowl with a clean kitchen towel or plastic wrap. Place it in a warm spot in your kitchen. Leave it for about 12 to 24 hours. During this time, the culture from the yogurt will ferment the cream, giving it that signature sour cream taste.
Step 5: Check the Consistency
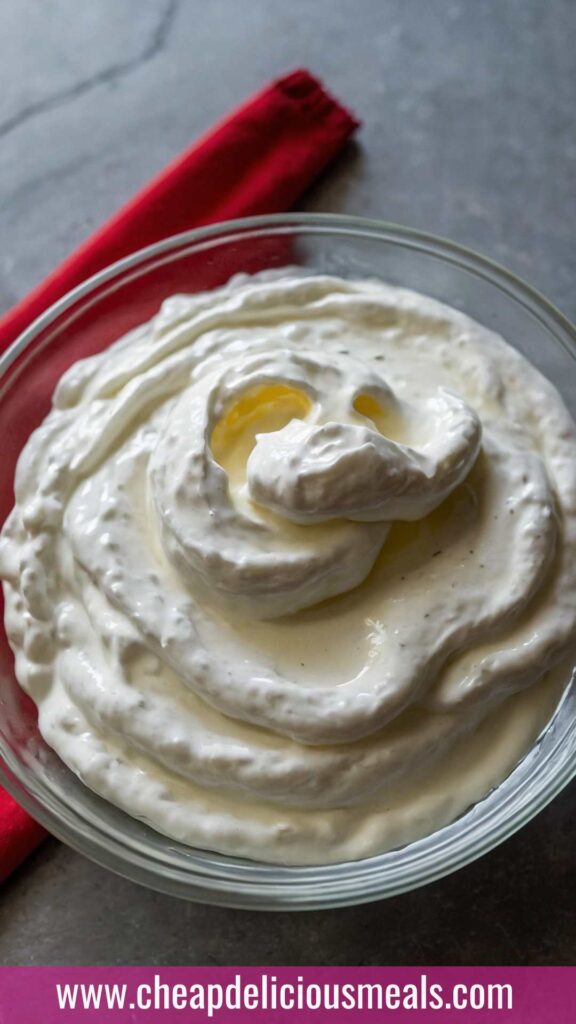
After the fermentation period, you’ll notice that your cream has thickened. If it’s not as thick as you’d like, let it sit a few more hours. Once it reaches your desired consistency, it’s done.
Step 6: Store Your Sour Cream
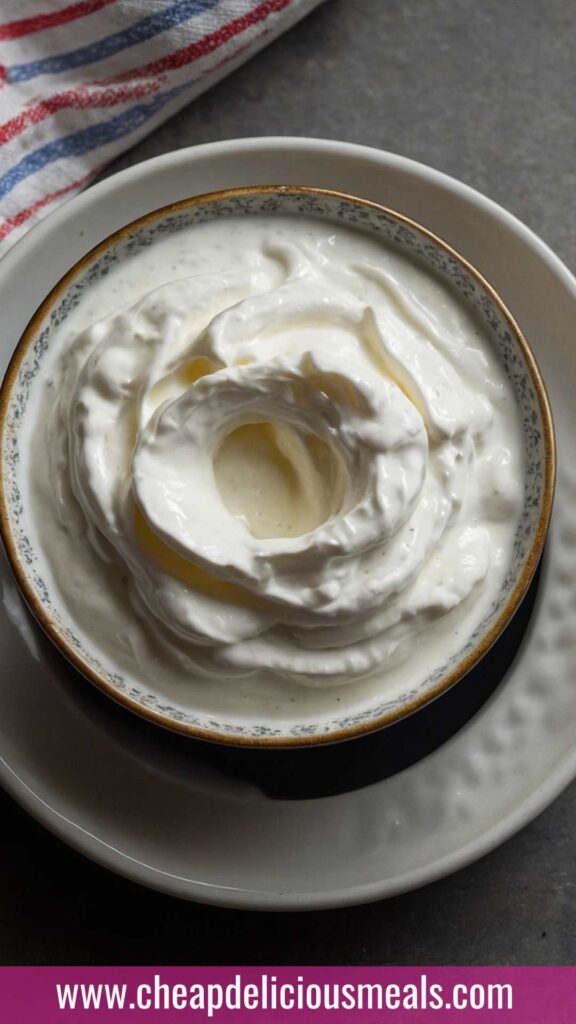
Transfer your sour cream to an airtight container and refrigerate. It should last about one to two weeks in the fridge.
Nutrition Information
Recipe Notes
- Heavy Cream: The higher the fat content, the creamier your sour cream will be. Full-fat cream is best for this recipe.
- Plain Yogurt: Make sure you’re using plain, not flavored yogurt. It should have live cultures for fermentation purposes.
- Lemon Juice: Freshly squeezed works best. Bottled lemon juice may contain preservatives.
- Sea Salt: This ingredient is optional. If you’re watching your sodium intake, feel free to skip it.
Recipe Variations
Feel free to switch things up a bit! Here are some ideas to get your creative juices flowing:
- Herbed Sour Cream: Add fresh herbs like dill or chives for an herbed twist.
- Spicy Version: Mix in some sriracha or hot sauce for a spicy kick.
- Garlic Flavor: Stir in roasted garlic for a creamy garlic dip.
Conclusion
Making sour cream at home is not only satisfying but also a great way to ensure you’re using wholesome ingredients. By following these simple steps, you can elevate your meals and impress family and friends with your culinary skills. Whether used in a dip, on tacos, or as part of a creamy dressing, homemade sour cream is a versatile addition to any kitchen.
Now, go gather those ingredients and start your culinary adventure. Your taste buds will thank you!
You Might Also Like These Latest Recipes!

How to Make Sour Cream – Cheap Delicious Meals
Description
Have you ever thought about making sour cream at home? Not only is it incredibly easy, but it also enhances so many dishes. You can pair it with baked potatoes, tacos, or even use it as a tasty dip for veggies and chips. Trust me, once you taste your homemade version, you might never want to buy the store-bought kind again.
Sour cream is a staple in many kitchens, and for good reason. It adds a creamy texture and a tangy flavor that elevates foods. And the best part? Making your own is both cost-effective and rewarding.
Ingredients
Instructions
-
The process of making sour cream is remarkably straightforward. With just a few steps, you'll be able to create a deliciously rich and tangy condiment. Let me walk you through it.
Step 1: Gather Your Ingredients
-
Start by gathering all your ingredients on the counter. It’s essential to have everything ready before you start cooking. Trust me, it saves a lot of time and hassle!
Step 2: Combine the Ingredients
-
In a mixing bowl, combine 1 cup of heavy cream, 1 tablespoon of plain yogurt, and 2 teaspoons of freshly squeezed lemon juice. You can use a whisk for this step. Mix everything together until it’s well blended.
Step 3: Add Seasoning
-
If you’d like to enhance the flavor, add a pinch of sea salt at this stage. Remember, it’s totally optional. Stir to incorporate.
Step 4: Cover and Let It Sit
-
Cover the bowl with a clean kitchen towel or plastic wrap. Place it in a warm spot in your kitchen. Leave it for about 12 to 24 hours. During this time, the culture from the yogurt will ferment the cream, giving it that signature sour cream taste.
Step 5: Check the Consistency
-
After the fermentation period, you’ll notice that your cream has thickened. If it’s not as thick as you’d like, let it sit a few more hours. Once it reaches your desired consistency, it’s done.
Step 6: Store Your Sour Cream
-
Transfer your sour cream to an airtight container and refrigerate. It should last about one to two weeks in the fridge.
Nutrition Facts
Servings 2
- Amount Per Serving
- Calories 213kcal
- % Daily Value *
- Total Fat 22.5g35%
- Saturated Fat 14g70%
- Cholesterol 83mg28%
- Sodium 26mg2%
- Total Carbohydrate 2g1%
- Sugars 2g
- Protein 2g4%
* Percent Daily Values are based on a 2,000 calorie diet. Your daily value may be higher or lower depending on your calorie needs.
Note
- Heavy Cream: The higher the fat content, the creamier your sour cream will be. Full-fat cream is best for this recipe.
- Plain Yogurt: Make sure you’re using plain, not flavored yogurt. It should have live cultures for fermentation purposes.
- Lemon Juice: Freshly squeezed works best. Bottled lemon juice may contain preservatives.
- Sea Salt: This ingredient is optional. If you’re watching your sodium intake, feel free to skip it.


