Let me start by painting a picture for you. Imagine standing in your kitchen with the aroma of roasting vegetables wafting through the air. They are perfectly caramelized, and just as they begin to sing their sweet, savory notes, you drizzle them with a luscious homemade balsamic glaze. It transforms the ordinary into the extraordinary. Maybe you’re serving it alongside grilled chicken or drizzling it over a fresh caprese salad. Every bite dances on the palate, offering a delightful contrast of flavors.
As someone who lives for flavor, I can assure you that nothing elevates a dish quite like this glaze. It’s a little touch of magic that brings everything together. Let me guide you through the world of homemade balsamic glaze—a simple yet transformative addition to your culinary toolkit.
What is Homemade Balsamic Glaze?
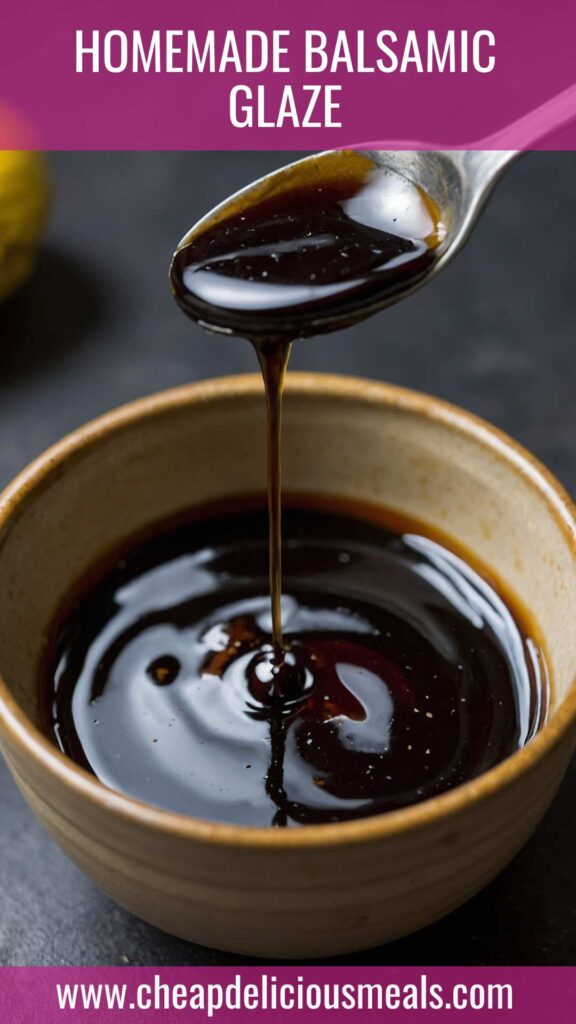
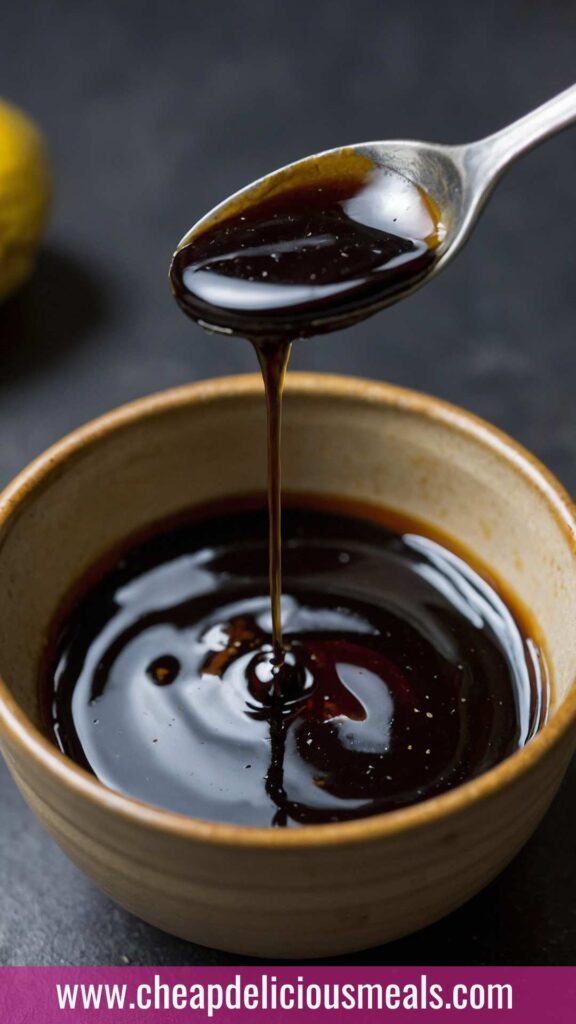
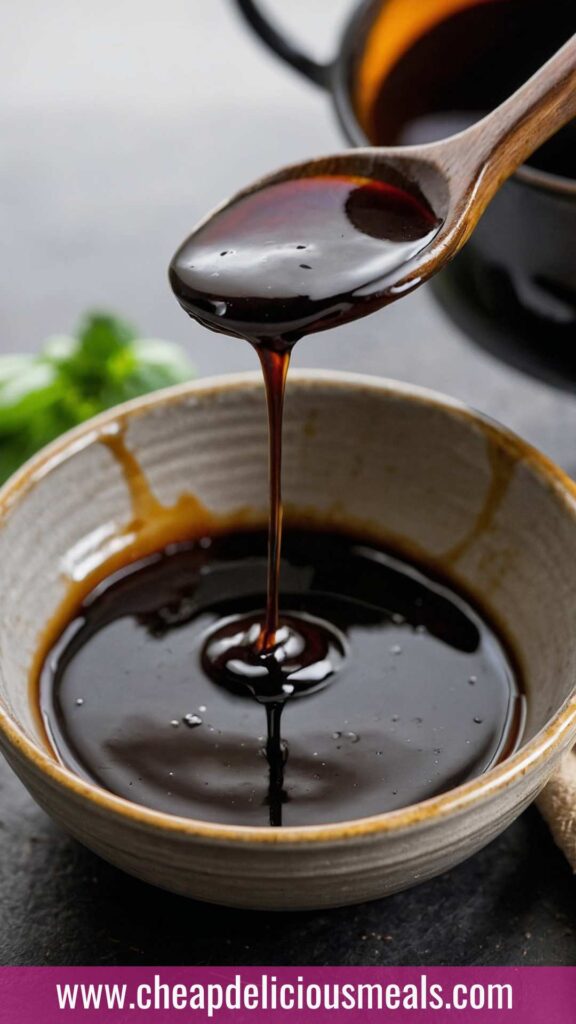
Homemade balsamic glaze is a reduction of balsamic vinegar, often sweetened with ingredients like sugar or honey. The process thickens the vinegar, intensifying its flavors and creating a syrupy consistency that sticks beautifully to food. It’s a versatile condiment that can enhance everything from salads to meats to desserts.
When I first discovered this glaze, I was skeptical. Could something so simple elevate my cooking so dramatically? After a few tries, I was hooked. And the best part? Making it at home means you can control the sweetness and acidity to perfectly suit your tastes.
You Might Also Like These Recipes!
The Ingredients
Creating this delectable glaze requires just a handful of ingredients:
- 1 cup aged balsamic vinegar: Look for a high-quality option for the best flavor.
- ¼ cup packed light brown sugar: This adds sweetness and helps with thickening.
- 1 teaspoon honey: A touch of natural sweetness that enhances the glaze’s flavor.
- Pinch of sea salt: A key ingredient that amplifies the overall flavor profile.
This simple list holds the promise of a flavor-packed addition to your meals.
How to Make Homemade Balsamic Glaze
In a nutshell, making homemade balsamic glaze involves simmering balsamic vinegar, sugar, and honey until you reach that perfect glaze consistency. Now, let’s break it down into steps.
Step 1: Gather Your Ingredients
Start by rounding up everything you need. This makes the process smoother and ensures you won’t be scrambling mid-recipe. You’ll want a sturdy saucepan and a whisk handy.
Step 2: Combine Ingredients
In the saucepan, combine the aged balsamic vinegar and brown sugar. Stir gently to ensure the sugar begins to dissolve.
Step 3: Heat the Mixture
Place the saucepan over medium heat. Bring the mixture to a gentle simmer. This is where the magic begins! The aroma of the balsamic vinegar starts to fill your kitchen.
Step 4: Monitor the Simmer
Keep an eye on the glaze as it simmers. You want it to reduce slowly. Stir occasionally to keep the sugar from settling and burning. You’re looking for a thick, syrupy consistency. This usually takes about 10-15 minutes.
Step 5: Add Honey and Salt
Once the glaze has thickened, remove it from the heat. Stir in the honey and a pinch of sea salt. This small addition can elevate the taste to another level.
Step 6: Cool and Store
Let your glaze cool in the pan before transferring it to a glass jar. This will continue to thicken as it cools down. Make sure it’s completely cooled before securing a lid.
Notes
Here are a few tips to perfect your homemade balsamic glaze:
- Adjust Sweetness: Experiment with the amount of sugar or honey. You can adjust according to your taste preferences.
- Watch the Heat: Never let the glaze boil vigorously; a gentle simmer is crucial to prevent burning.
- Use Quality Ingredients: The flavor of your glaze depends heavily on the quality of your balsamic vinegar. Invest in a good one.
- Cool Completely: Balsamic glaze thickens significantly upon cooling, so don’t be alarmed if it looks thin when hot.
- Reuse the Jar: Save an empty glass jar for storage. It’s eco-friendly and keeps your glaze fresh.
Storage Tips
Homemade balsamic glaze can be stored in the refrigerator for up to two weeks. Always keep it in a glass jar with a tightly sealed lid to prevent air exposure. When you’re ready to use it again, just give it a little stir.
Nutrition Information
While balsamic glaze is often viewed as a condiment, it does carry some nutritional components:
- Calories: Approximately 20 calories per tablespoon
- Carbohydrates: Roughly 5g per tablespoon, primarily from sugar
- Fat: 0g
- Protein: 0g
It’s a simple condiment that complements many dishes without drastically altering your daily caloric intake.
Serving Suggestions
Here are a few ways you can incorporate this delightful glaze into your meals:
- Drizzle on Grilled Vegetables: Imagine grilled zucchini and bell peppers. Now imagine them drizzled with balsamic glaze. Need I say more?
- Enhance Caprese Salad: Layer fresh mozzarella, tomatoes, and basil, then finish with a generous drizzle of glaze. The sweetness is a game changer!
- Top Off Pizza: After pulling your homemade pizza from the oven, add a swirl of balsamic glaze. It creates an unexpected burst of flavor.
- Marinate Meats: Use the glaze as a marinade for chicken or pork. Let it soak in for an hour before grilling for an extra kick.
- Dessert Drizzle: Yes, you read that right! Balsamic glaze is perfect on strawberries or vanilla ice cream. It adds a surprising depth to fruity desserts.
What Other Substitutes Can I Use in Homemade Balsamic Glaze?
If you find yourself out of balsamic vinegar or want to experiment, consider these alternatives:
- Red Wine Vinegar: Offers a different flavor profile but can work beautifully when combined with sugar.
- Apple Cider Vinegar: Its fruity notes provide a great twist. Adjust the sweetness to balance the tang.
- Rice Vinegar: This can be a milder substitute and pairs well with sugar. Again, keep your taste buds in charge.
- White Wine Vinegar: If you’re looking for something less intense, this works well. Add a bit more sugar for balance.
- Lemon Juice: While this is not a direct replacement, it can add acidity to a syrup made with sugar, creating a unique glaze.
Conclusion
Homemade balsamic glaze is more than just a dressing; it’s a versatile culinary tool that can elevate any dish. After diving into the process of creating this glaze myself, I celebrated the deliciousness it brings to meals. The balance of sweetness and acidity enhances everything it touches, making me wonder how I ever cooked without it.
So, roll up your sleeves and get ready to add some flavor to your cooking. You might find that this glaze becomes a staple in your kitchen, just as it has in mine. Whether you’re drizzling it over grilled vegetables or using it as a marinade, the joy it brings is undeniable. Happy cooking!
You Might Also Like These Latest Recipes!

Homemade Balsamic Glaze – Cheap Delicious Meals
Description
Let me start by painting a picture for you. Imagine standing in your kitchen with the aroma of roasting vegetables wafting through the air. They are perfectly caramelized, and just as they begin to sing their sweet, savory notes, you drizzle them with a luscious homemade balsamic glaze. It transforms the ordinary into the extraordinary. Maybe you’re serving it alongside grilled chicken or drizzling it over a fresh caprese salad. Every bite dances on the palate, offering a delightful contrast of flavors.
Ingredients
Instructions
-
In a nutshell, making homemade balsamic glaze involves simmering balsamic vinegar, sugar, and honey until you reach that perfect glaze consistency. Now, let’s break it down into steps.
Step 1: Gather Your Ingredients
-
Start by rounding up everything you need. This makes the process smoother and ensures you won’t be scrambling mid-recipe. You’ll want a sturdy saucepan and a whisk handy.
Step 2: Combine Ingredients
-
In the saucepan, combine the aged balsamic vinegar and brown sugar. Stir gently to ensure the sugar begins to dissolve.
Step 3: Heat the Mixture
-
Place the saucepan over medium heat. Bring the mixture to a gentle simmer. This is where the magic begins! The aroma of the balsamic vinegar starts to fill your kitchen.
Step 4: Monitor the Simmer
-
Keep an eye on the glaze as it simmers. You want it to reduce slowly. Stir occasionally to keep the sugar from settling and burning. You’re looking for a thick, syrupy consistency. This usually takes about 10-15 minutes.
Step 5: Add Honey and Salt
-
Once the glaze has thickened, remove it from the heat. Stir in the honey and a pinch of sea salt. This small addition can elevate the taste to another level.
Step 6: Cool and Store
-
Let your glaze cool in the pan before transferring it to a glass jar. This will continue to thicken as it cools down. Make sure it’s completely cooled before securing a lid.
Nutrition Facts
Servings 4
- Amount Per Serving
- Calories 20kcal
- % Daily Value *
- Total Carbohydrate 5g2%
* Percent Daily Values are based on a 2,000 calorie diet. Your daily value may be higher or lower depending on your calorie needs.
Note
Here are a few tips to perfect your homemade balsamic glaze:
- Adjust Sweetness: Experiment with the amount of sugar or honey. You can adjust according to your taste preferences.
- Watch the Heat: Never let the glaze boil vigorously; a gentle simmer is crucial to prevent burning.
- Use Quality Ingredients: The flavor of your glaze depends heavily on the quality of your balsamic vinegar. Invest in a good one.
- Cool Completely: Balsamic glaze thickens significantly upon cooling, so don’t be alarmed if it looks thin when hot.
- Reuse the Jar: Save an empty glass jar for storage. It’s eco-friendly and keeps your glaze fresh.


